|
Mercedes Sheep Skin Seat Cover Installation
|
| Home |
| Bio diesel and WVO page |
All parts used in these pictorials are available at the diesel parts for sale page
Mercedes Sheep Skin Seat Cover Installation
Safety and security tips:
Please remember to recycle all your used fluids at an appropriate recycling center. Be mindful to not spill or splash fluids on yourself, others or the ground. Also as a safety tip please remember anytime you are working on, around or under your car, to wear safety glasses and secure the car with wheel stops and approved jack stands!
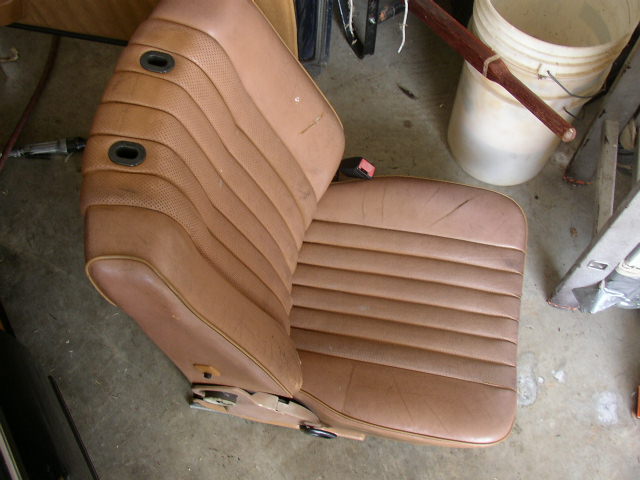
I think we can all agree that everyone likes a nice interior. Nothing in my opinion detracts from the look and feel of the car more, than a pair of ripped up seats. While tears in the seat say nothing about how the car performs, it just plain looks bad. The '85 300 cd that I have been driving for the last several months, suffered from just this seat disease. This coupe came with the rare actual leather upholstery. While I love the MB tex and its legendary durability, I can't stand real leather. No body seems to know how to properly care for it, hence it dries out and cracks.
Well I looked at various options including: new leather $1000, switching to MB tex $700, junkyard donor seats (yea right like there is just a set of palomino colored coupe seats in nice shape just waiting for me) or a hand made set of real sheep skins seat covers $299. Weighing my options and my wallet I chose the sheep skin seat covers. In addition to being less than half the cost of new MB tex, they are cool in the summer and warm in the winter. My seats were in sound condition i.e. springs, pad, internals, etc so sheep skin covers were a natural choice.
Now just to clarify these are not even close to the store bought seat covers. These are actually hand made for the Mercedes and use genuine Australian sheep. I had to wait about 7 days before they were ready.
To be honest I thought that they would be a breeze to install, WRONG! I started getting frustrated in the install and decided to remove the seat to gain more room. WOW that made a world of difference. Let me reiterate that I highly recommend you remove your seats, and the install will look like a high priced upholstery shop did the job.
So follow along as I quest for a better seating surface.....
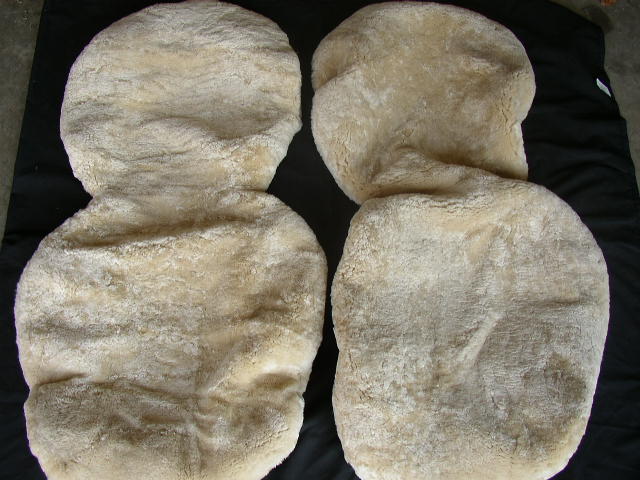
Well here they are a handmade set of palomino sheep skin cover just for the Mercedes.
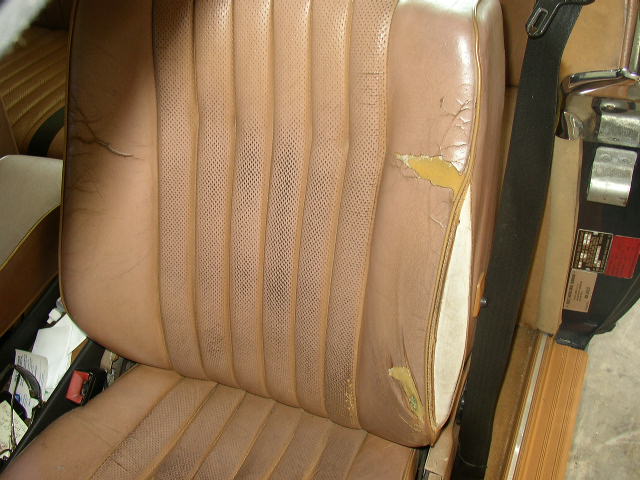
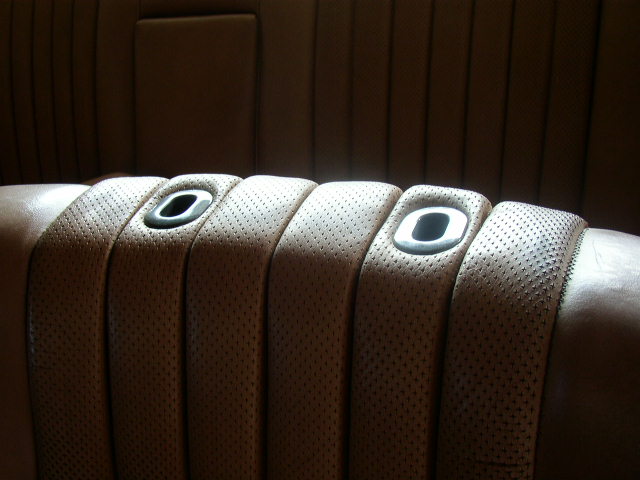
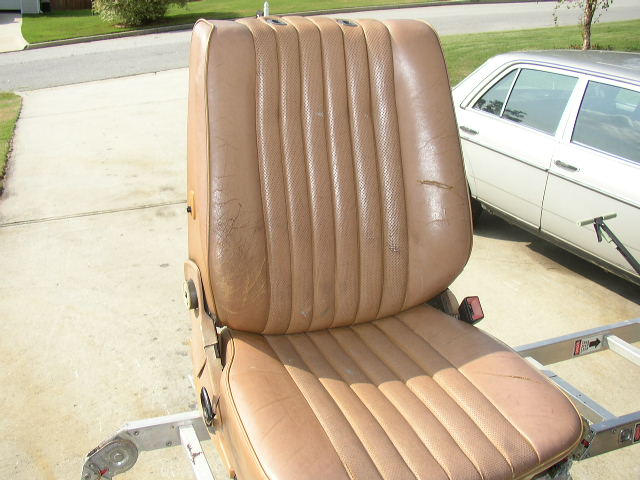
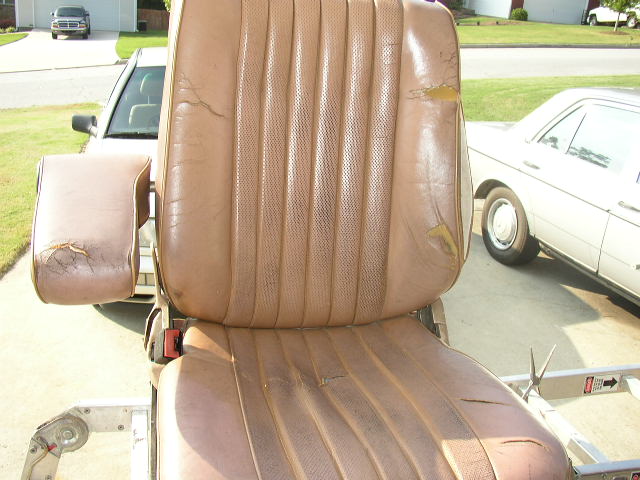
Real leather seat has seen better days, but was otherwise sound.
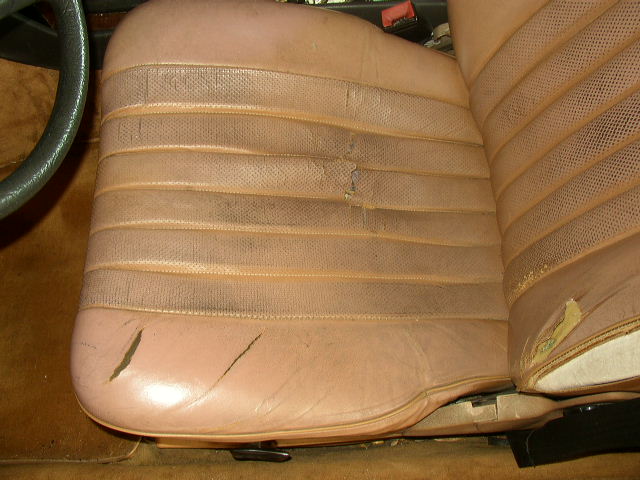
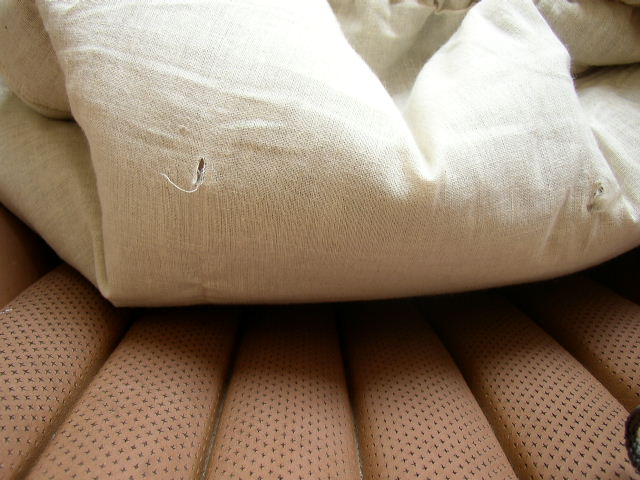
Another shot of the seating pad. I have seen MB tex get this bad, but its rare.
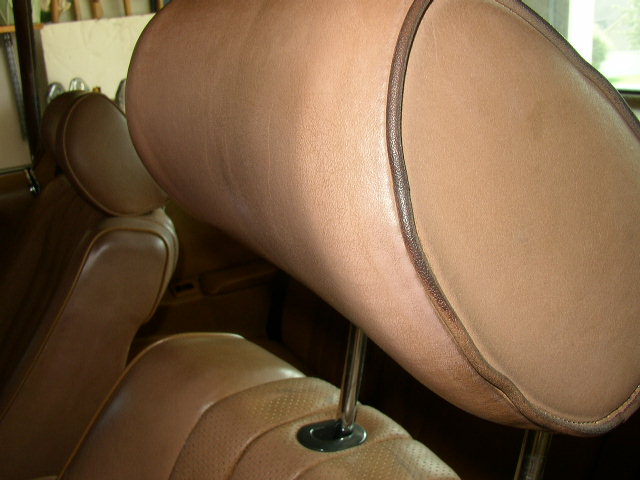
Lets start by removing the head rest. On the manual seats it just slides out.
Shot with the head rest out.

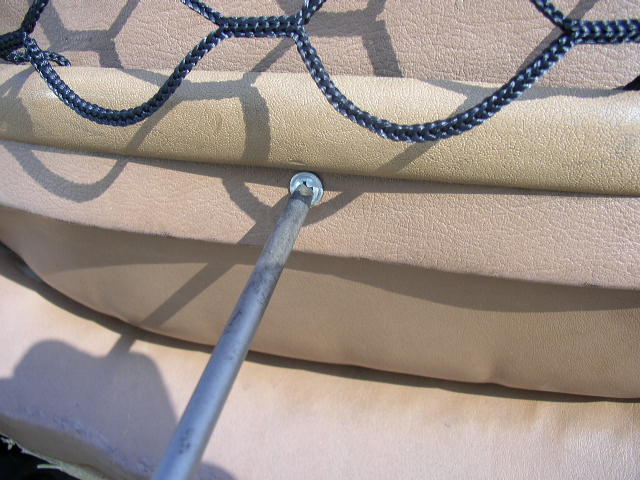
I slid the seat all the way forward to loosen the back two seat bolts. Then slid the seat the other way
to get the front bolts.
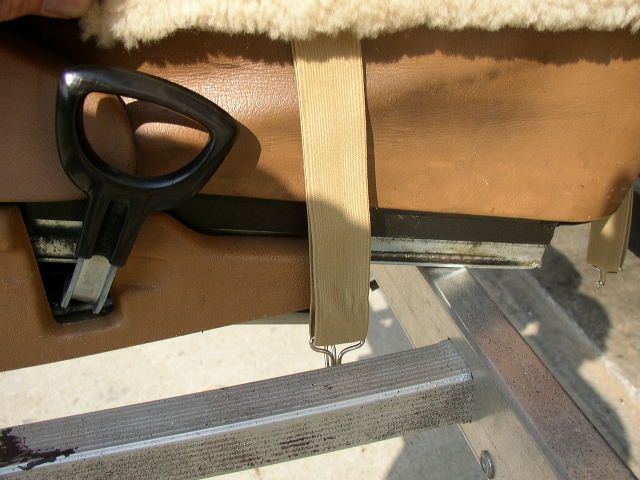
Removed the seat belt slide track.....
...Removed the retaining bolt....
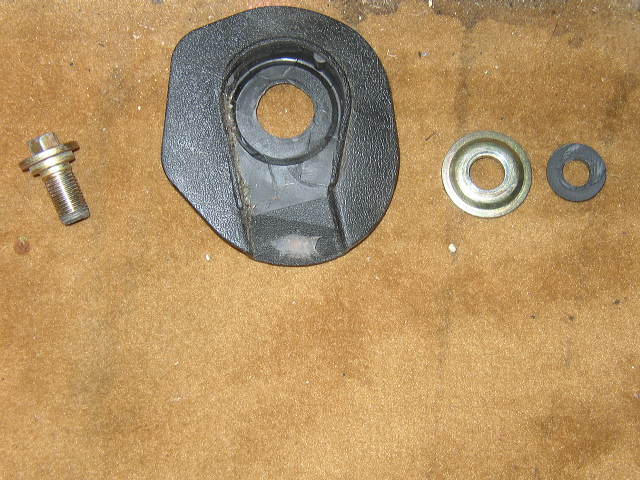
...and all the hardware.
After removing the front seat bolts, I took the seat out of the car.
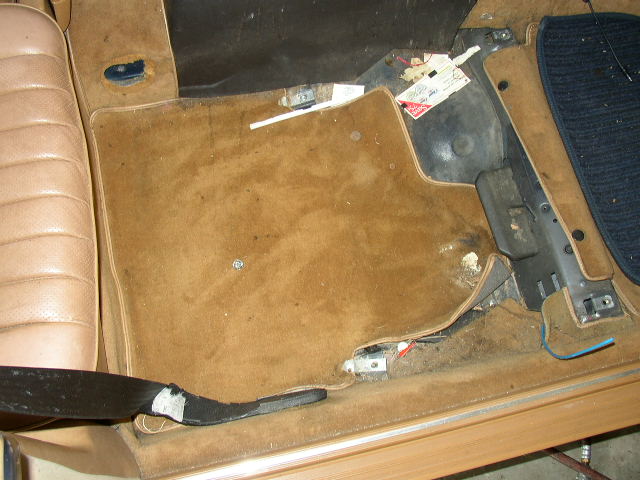
Interior work is the job that pays you. I found about 70 cents!
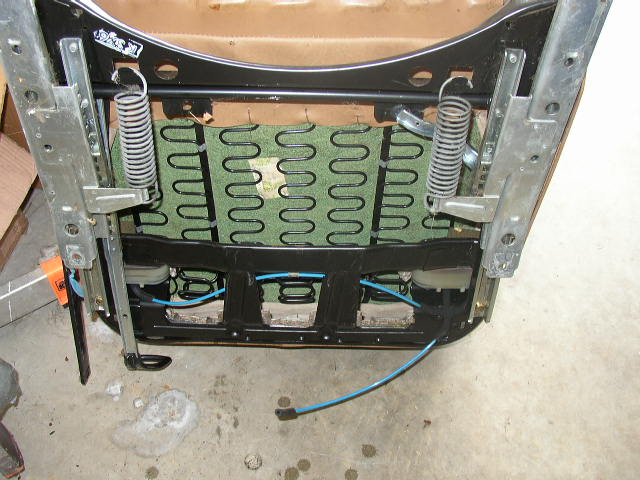
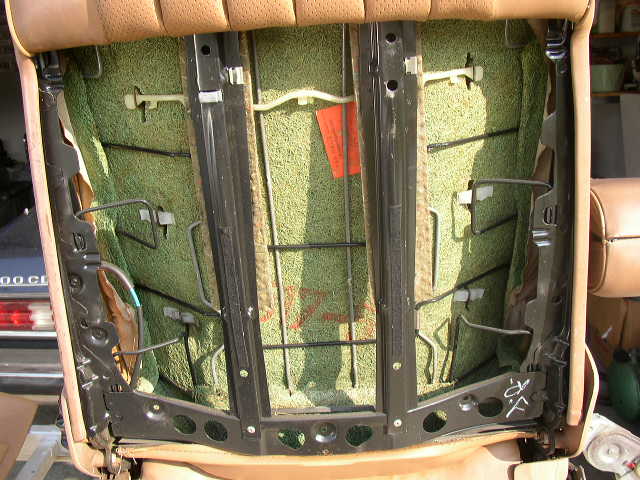
I placed the seat on a work ladder to gain access to the under side. Pad was in great shape.
Removing the seat makes the job soooo much easier.
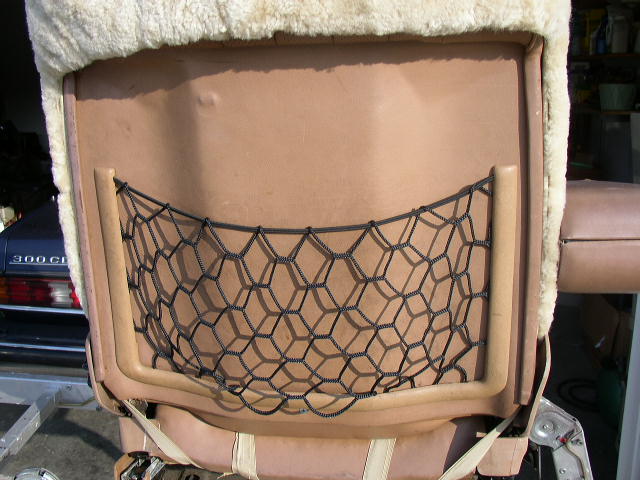
I laid the cover on the seat and pulled all the elastic straps out so I could start the tensioning work.
Not having the seat in the car lets you place the straps under the seat in the optimal location for good
stretch and a professional look.
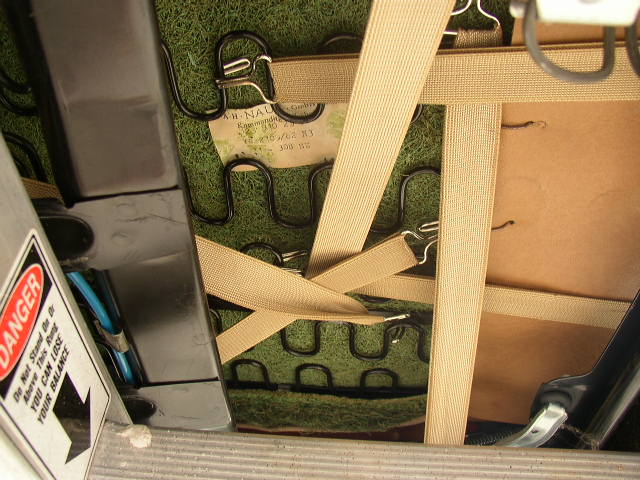
I tried to keep the tension equal on all straps by criss crossing them and hooking them on the springs.
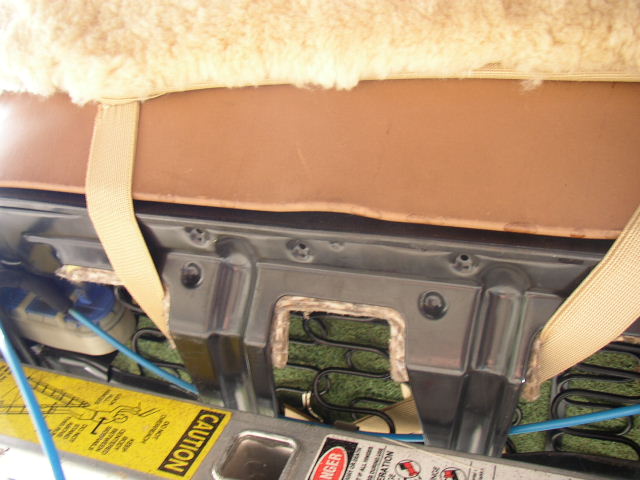
Shot of the front straps.
Now as you might have guessed, there are no holes for the headrest, so you must make your own.
I must admit that I was a little leery of poking two holes in a $300 pair of skins, but it must be done. After
the cover is on and fits perfectly, then take an awl and poke through where the head rest post go through the
seat. Then fold the cover back and make a small "X" with a sharp razor blade, just enough for the post to
go through.....
With the passenger seat now done, reinstall it in the car and move on to the drivers seat....
Same procedure as the other seat except the arm rest must be addressed.
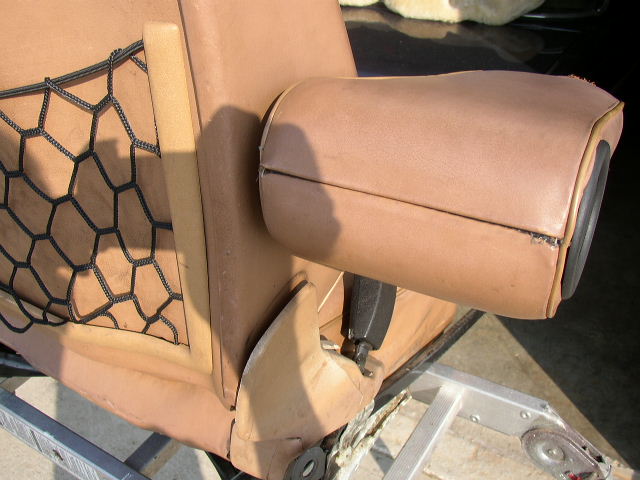
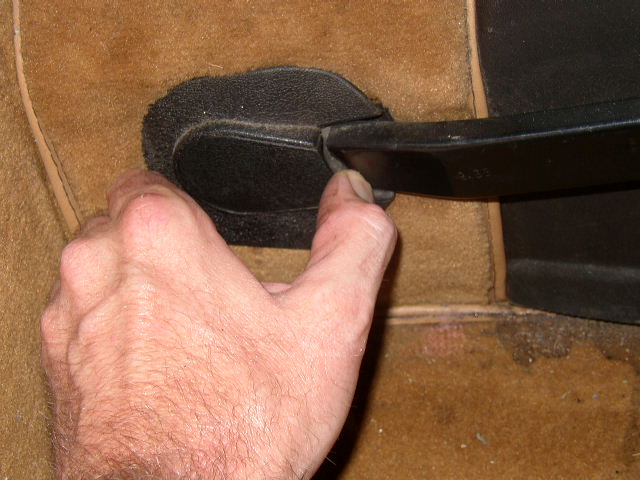
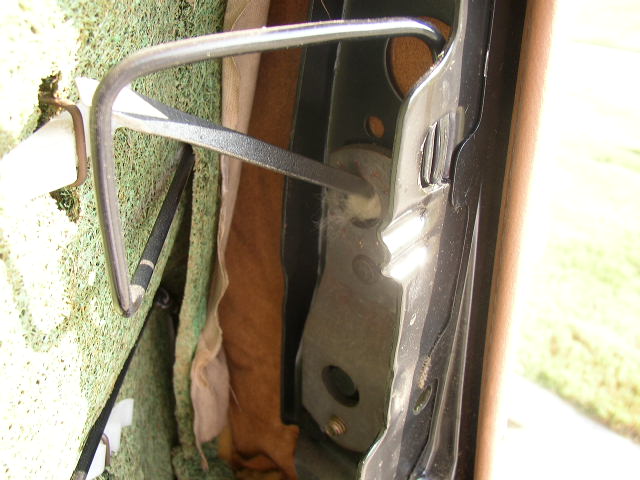
Remove the back panel.....
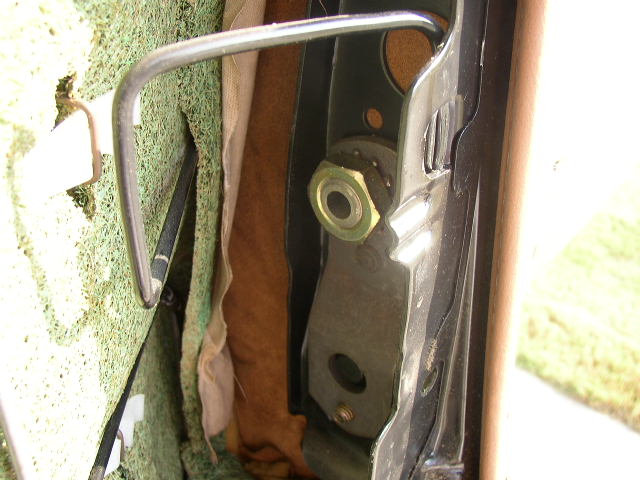
...to gain access to the retaining bolt.
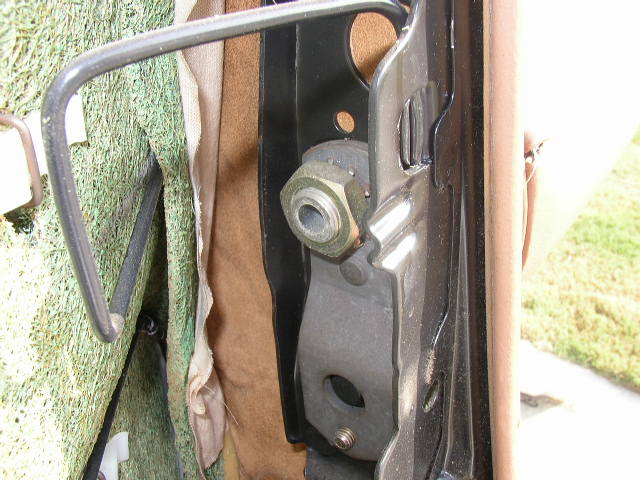
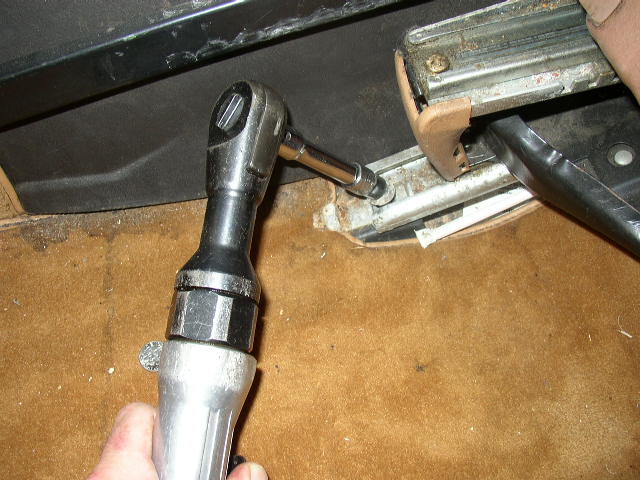
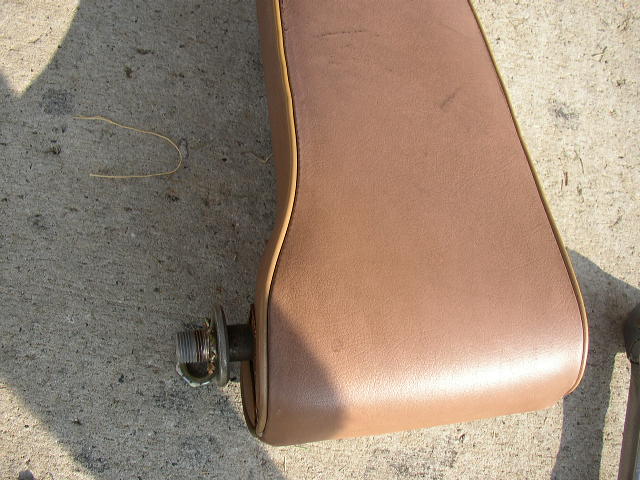
This is how to remove the arm rest via this large bolt.
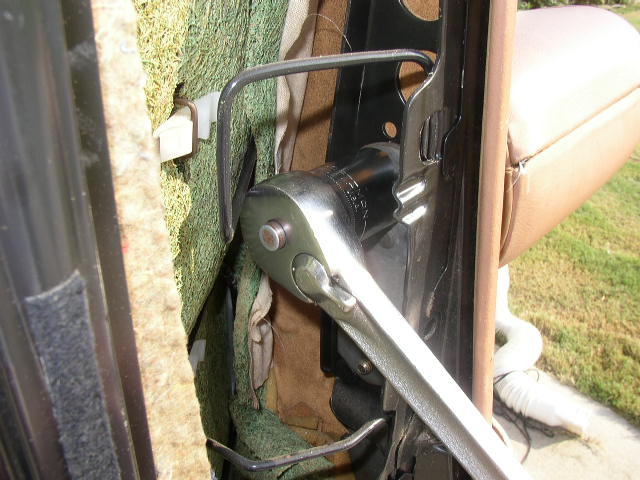
A 27mm 1/2" socket will get the job done.
Arm rest removed. I will recover this as a later date.
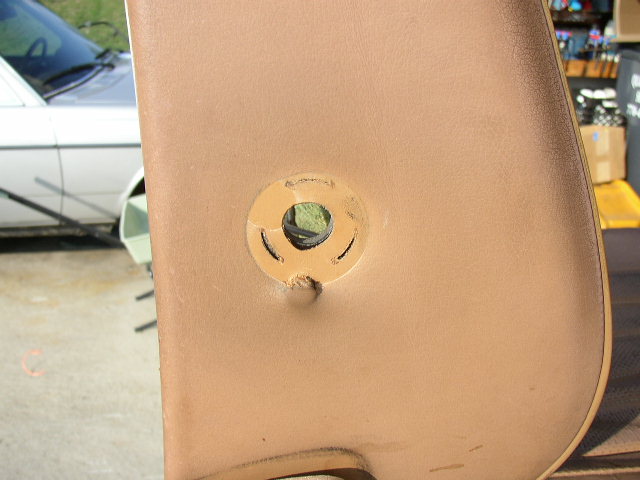
We will also make a hole in the cover for this large bolt. You can see the color of original unflawed
leather.

This is how I do the head rest. Two awls poked through the cover
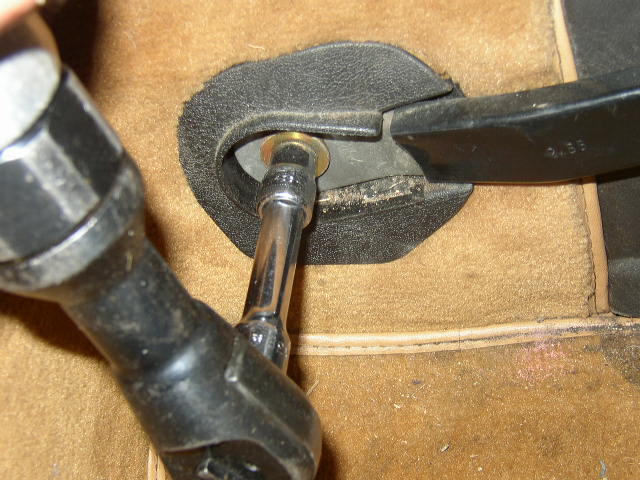
Already poked a hole in the cover for the arm rest and using a flat blade screwdriver to hold the place.
Make your small "X" in the back of the cover for the bolt....
Install the arm rest.
Reinstall the back cover.
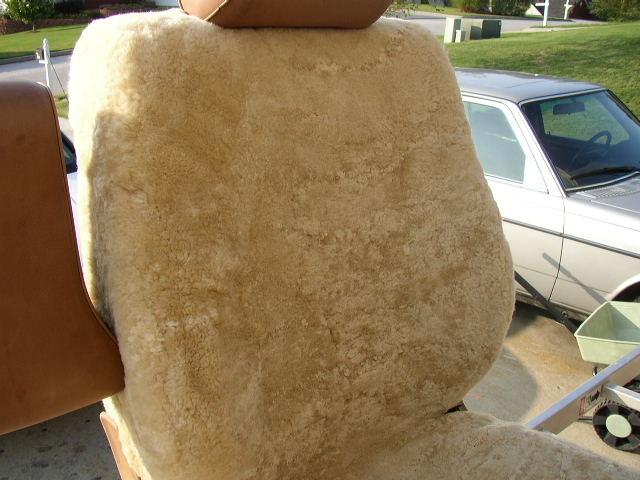
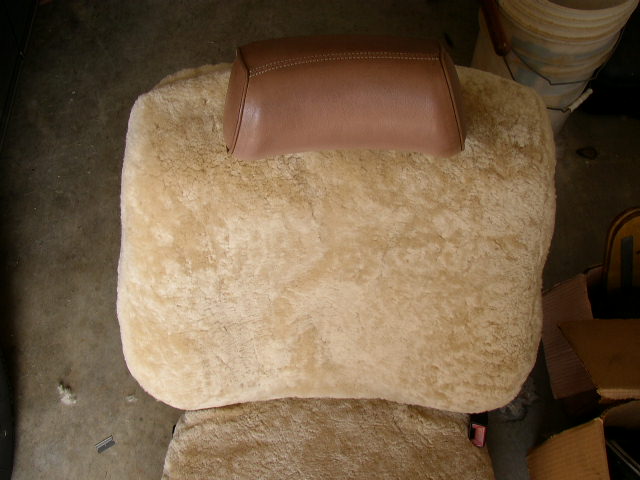
Another seat ready for reinstallation.
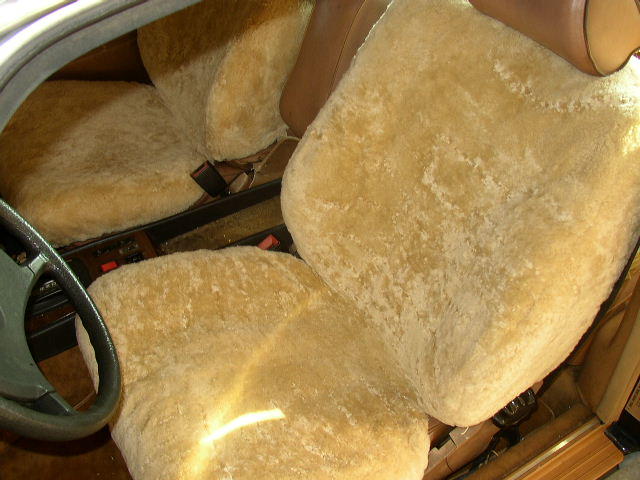
Seats reinstalled and boy to do look and feel great!
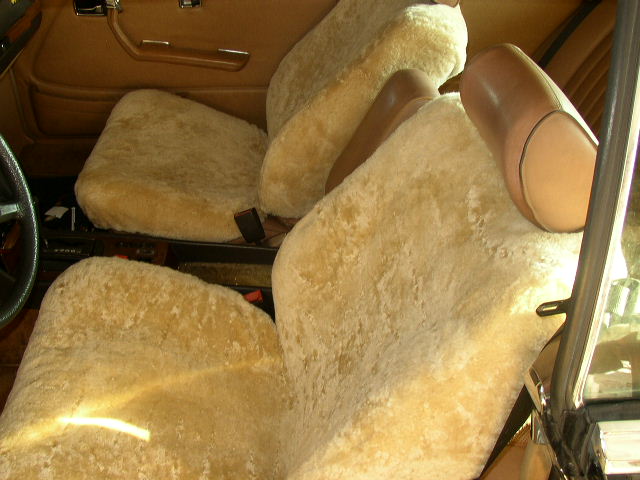
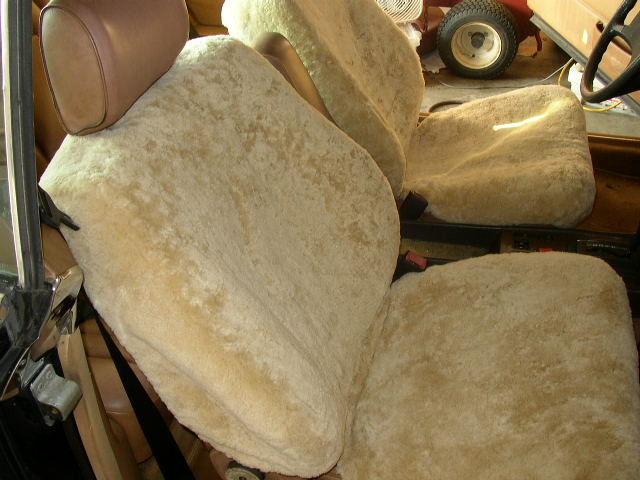
I can safely say that I would do this again in a heat beat. The difference you feel in the seat in like night and day.
The covers are thick so its ads a measure of padding and they are really much cooler than the leather.
When I get finished with this car and sell it, the new owner is going to enjoy their daily ride.
Enjoy.