|
Mercedes Paint Preparation |
|
Project 240d series
All parts used in these pictorials are available at the diesel parts for sale page
Mercedes Paint Preparation Safety and security tips: Please remember to recycle all your used fluids at an appropriate recycling center. Be mindful to not spill or splash fluids on yourself, others or the ground. Also as a safety tip please remember anytime you are working on, around or under your car, to wear safety glasses and secure the car with wheel stops and approved jack stands!
|
This pictorial is the 2nd one in a series of our project 240d. If you recall in the 1st series we changed out the dented front passenger fender for our nice used unit. In this series I will be showing you how to prepare the body of the car for painting. Doing this, you will save you about $500 on a really nice job, and you will have the satisfaction of knowing you did it right.
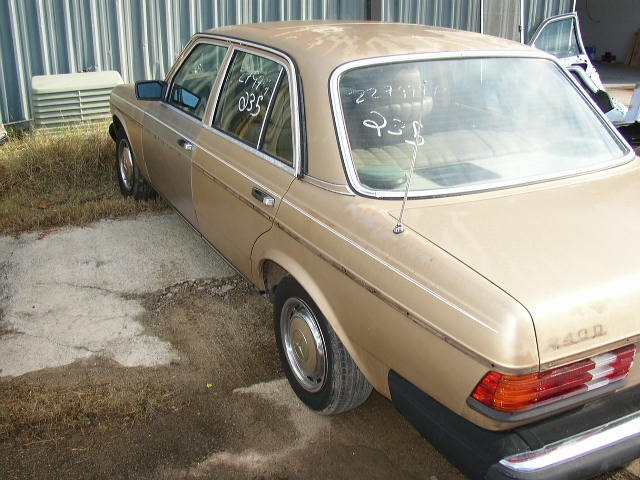
Most of the Mercedes had a base coat/clear coat system depending on the color. After 20 plus years of sitting in the elements and sun, the clear coat will start to flake off. When that happens you need to get out the heavy duty sandpaper and roll up your sleeves. If your car is just faded and has no clear coat pealing or paint cracking, then you will have much less work ahead of you. But in the spirit of the DIY'ers, our project 240d had all kinds of paint defects to show you.
I used a good DA sander for a majority of the heavy cutting because I had access to an air compressor. If you don't then you can just use the wet/dry sandpaper and it will work just fine, although a little slower since you are doing it by hand.
So lets get to work....
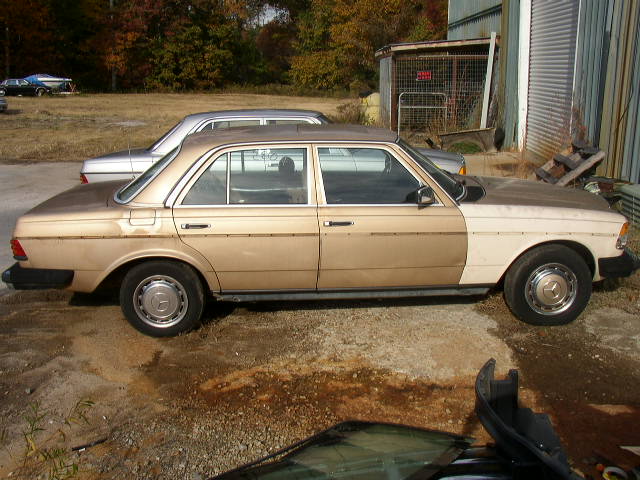
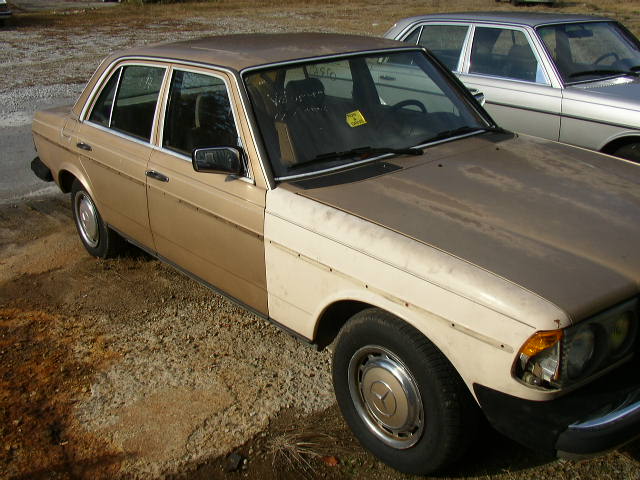
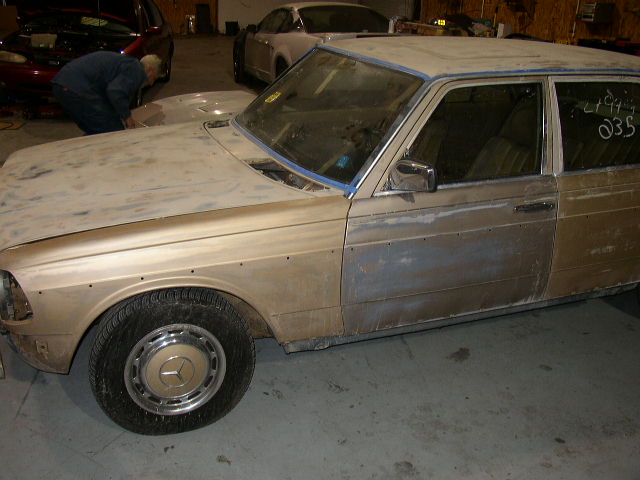
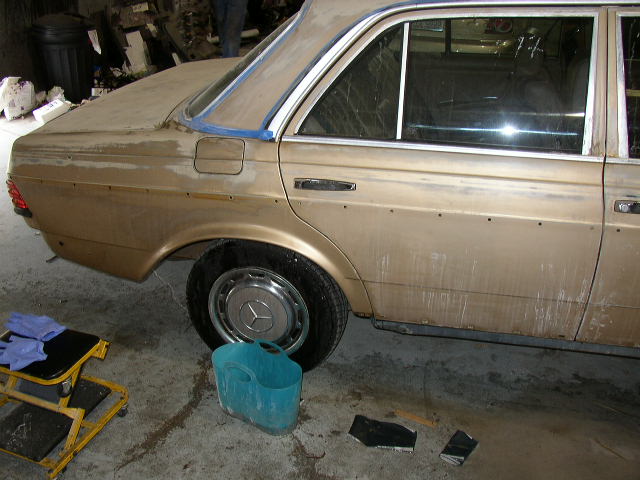
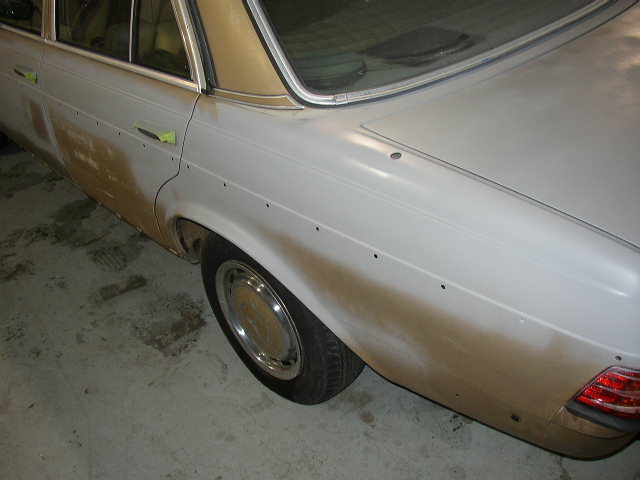
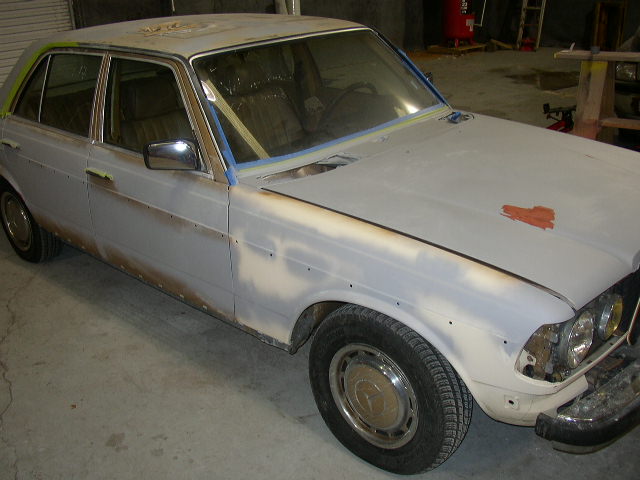
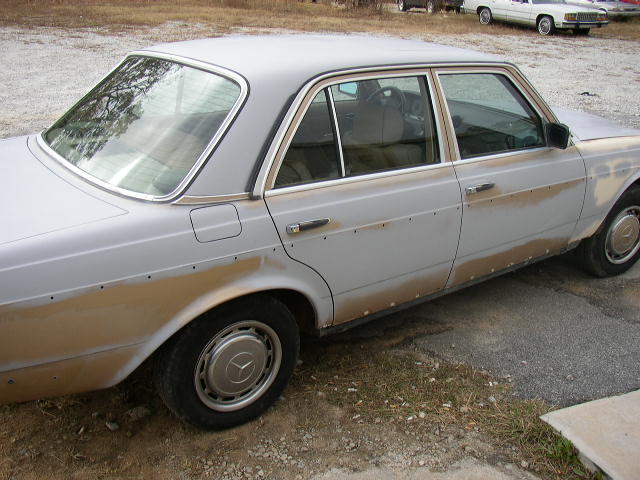
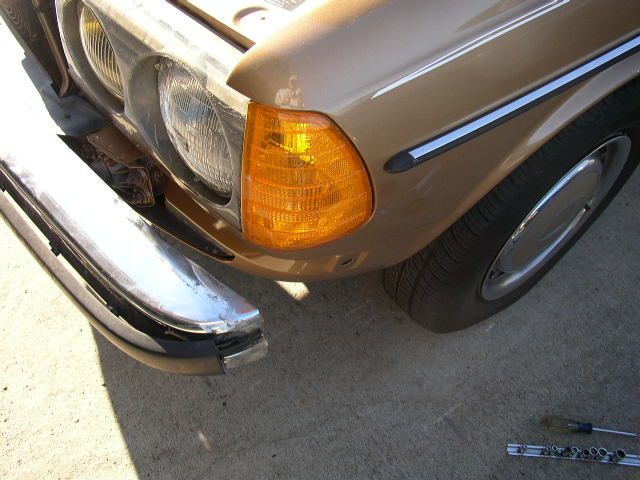
Here is the unit after the front fender install. I took the liberty to remove all the door and fender molding in preparation for sanding.
All those spots that look white is the normal areas of clear coat flaking off and must be removed, not just scuffed up.
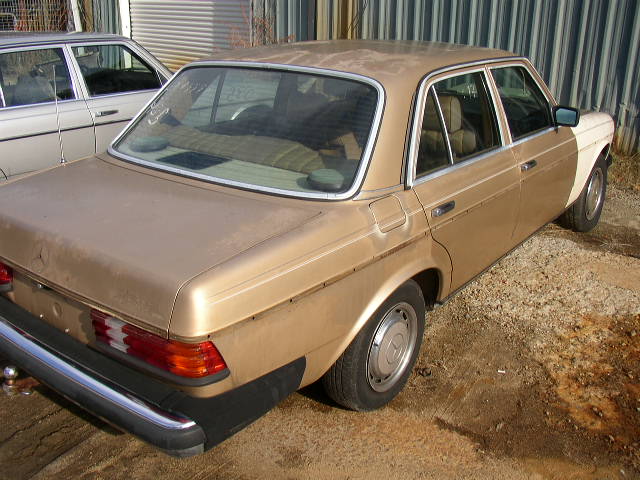
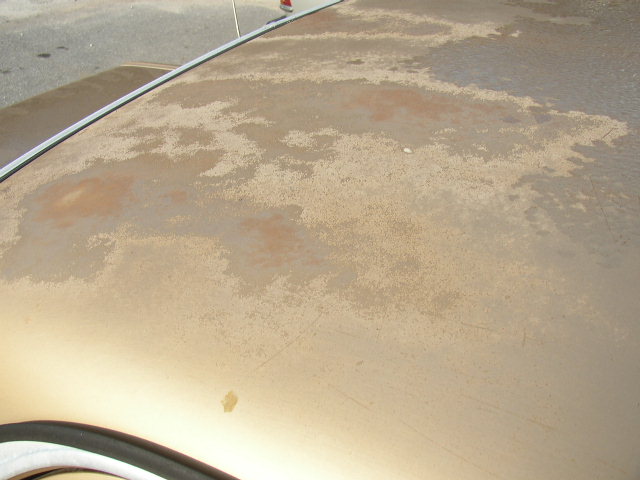
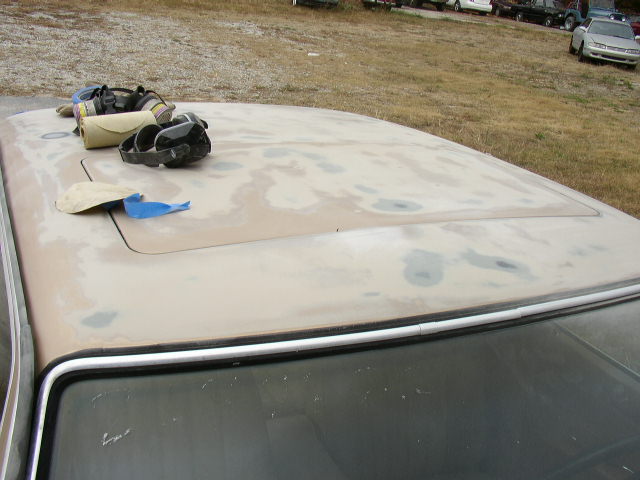
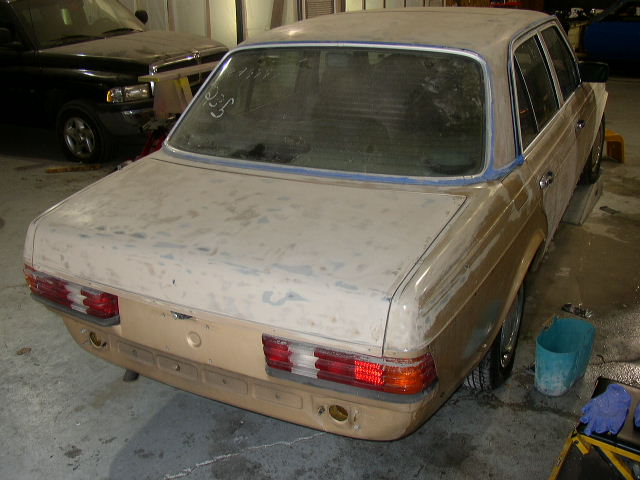
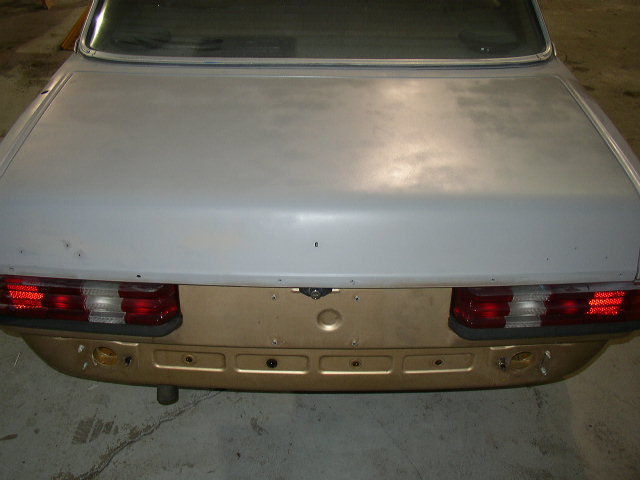
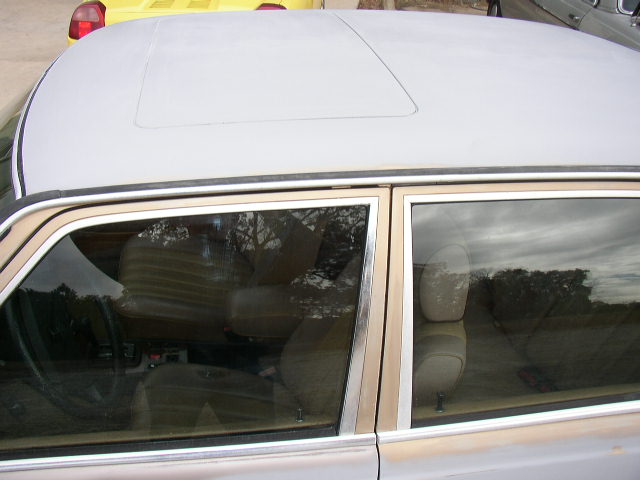
Roof, deck lid and hood all required that the gold paint be removed to make sure the paint was taken down far enough. I also removed the trim badges in preparation.
Just a whole lot of clear that must be removed, yuk!
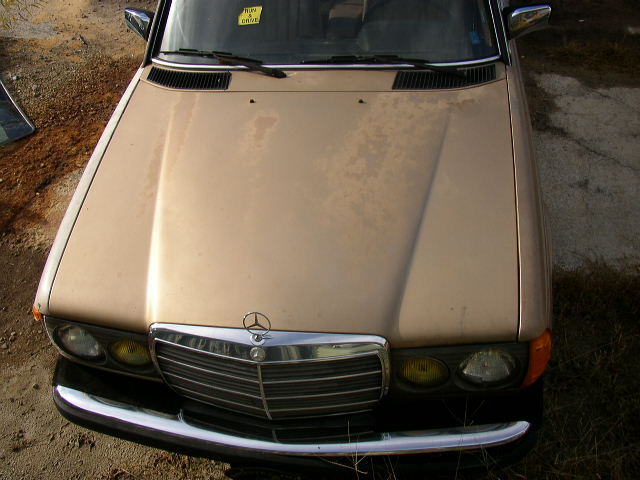
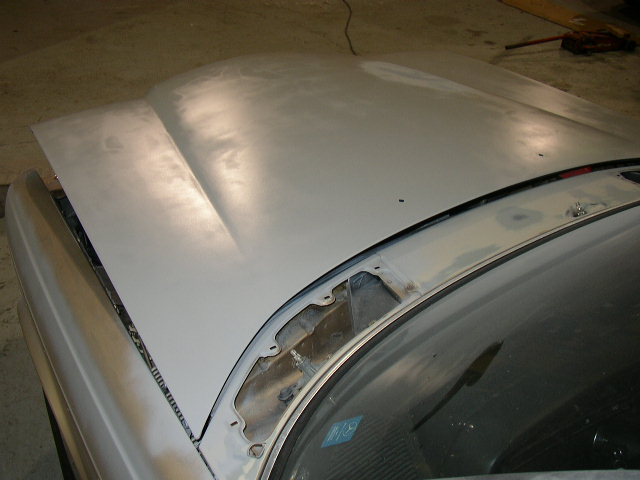
Hood is just as bad. But I just keep thinking how nice the finished product will turn out.
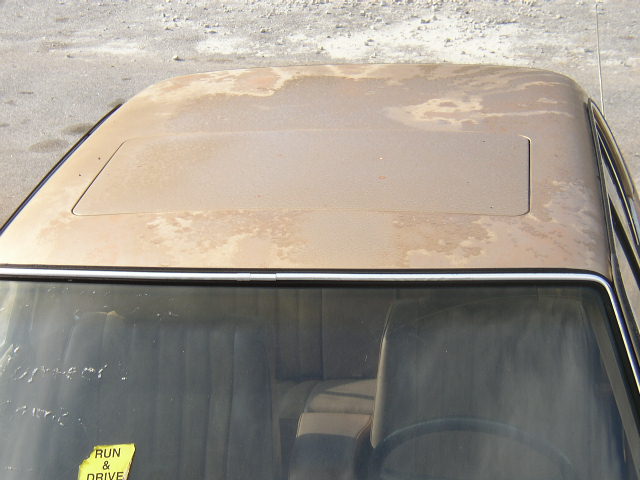
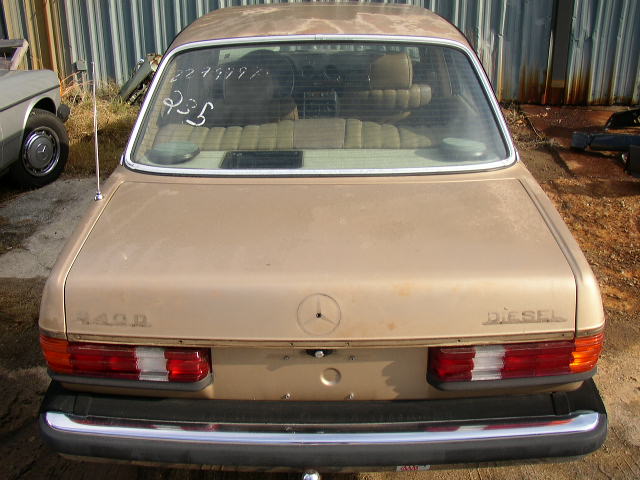
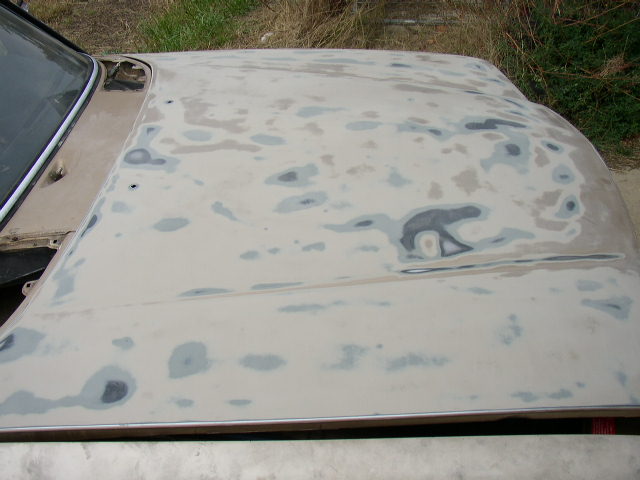
Top of the car is the worst condition. But thank the LORD not one spec of rust on the whole car.
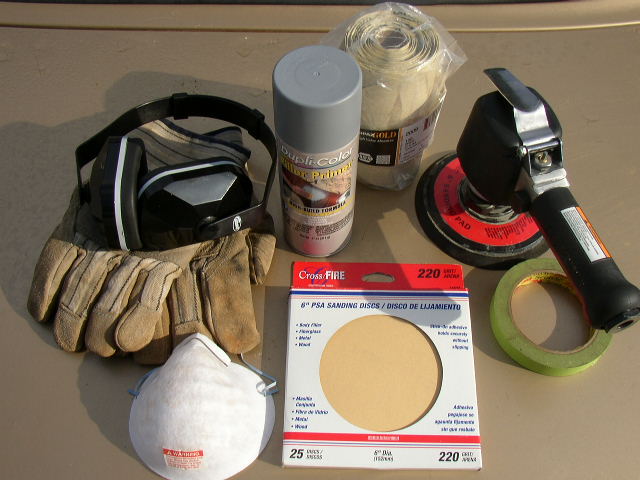
Paint warriors tools: DA sander, dust mask, ear protection, gloves, primer filler, paint tape, 180 grit and 220 grit sandpaper.
Remove the rubber bumper fillers....
Windshield wipers.....
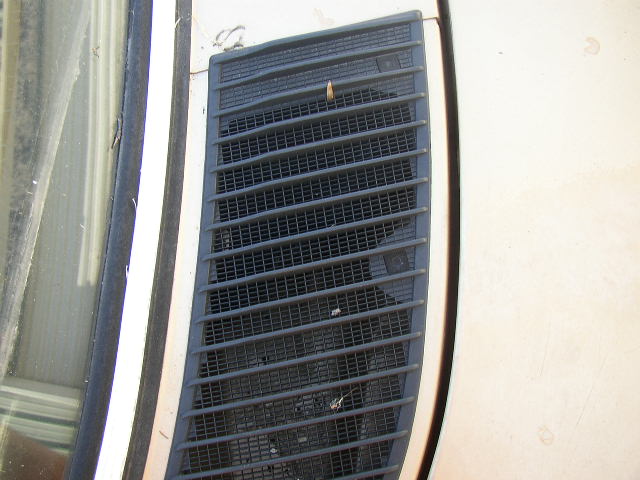
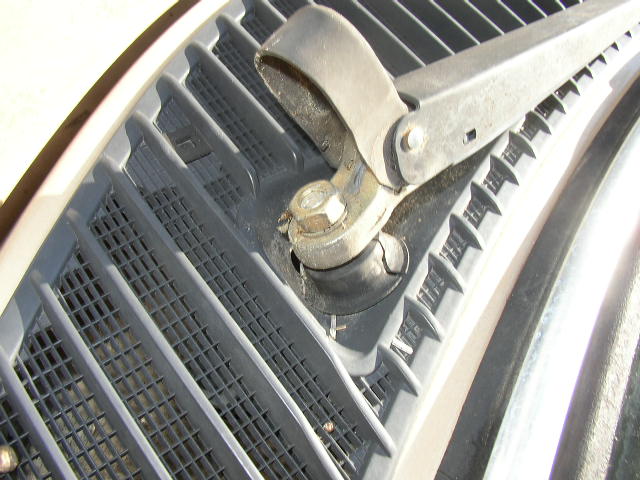
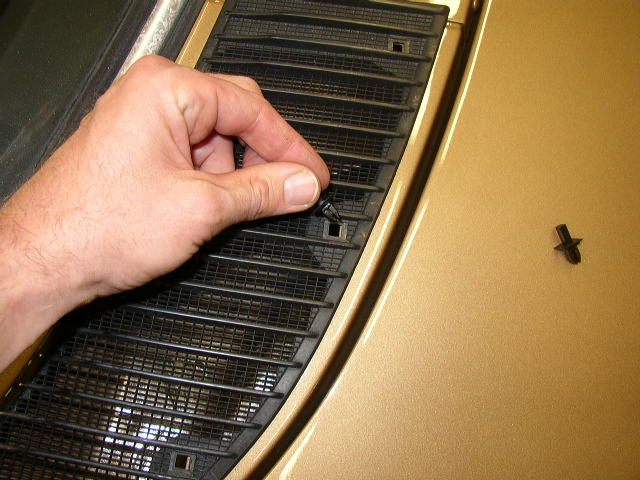
Cowl grill...
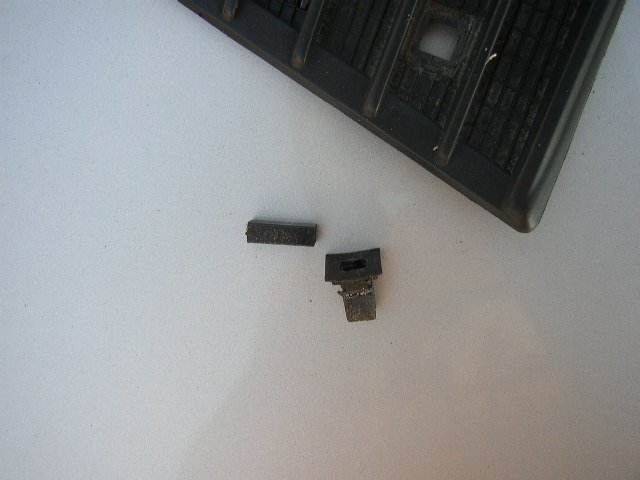
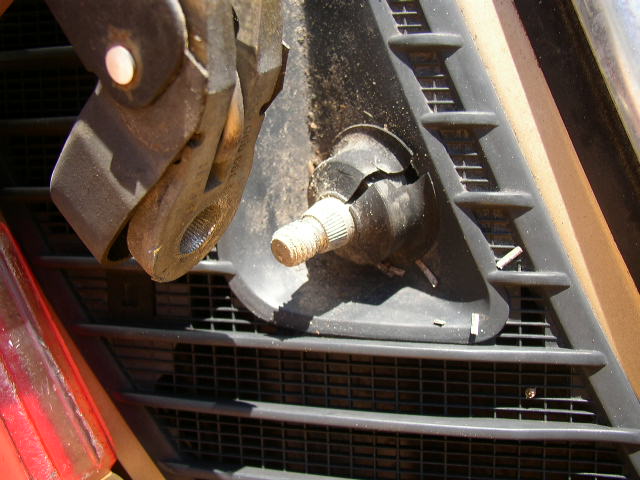
You take a small screwdriver and PUSH down in the center of the square stud and the pin will fall out. Do not try to pry them up, you will break them.
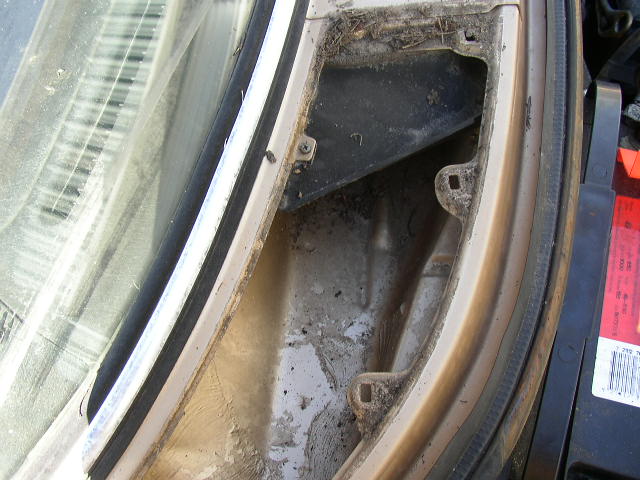
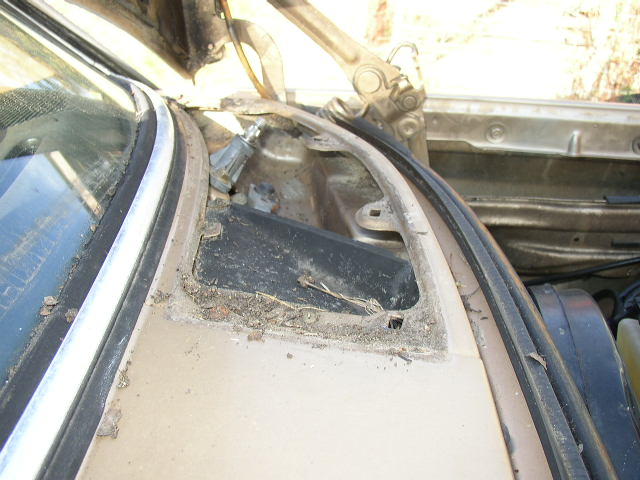
Lots of hidden dirt will greet you. Take an old paint brush and dust it out.
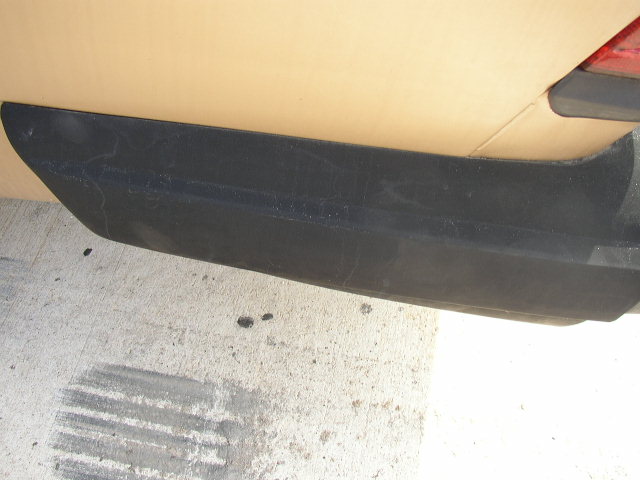
Remove the rear bumper guard....
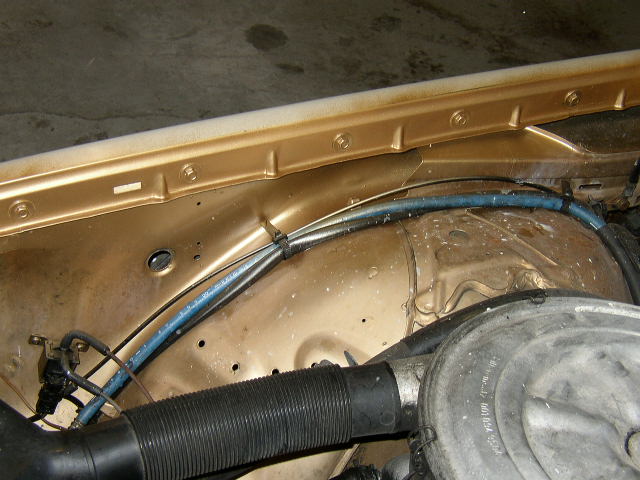
Hidden bolt inside the wheel well....
Comes right off..
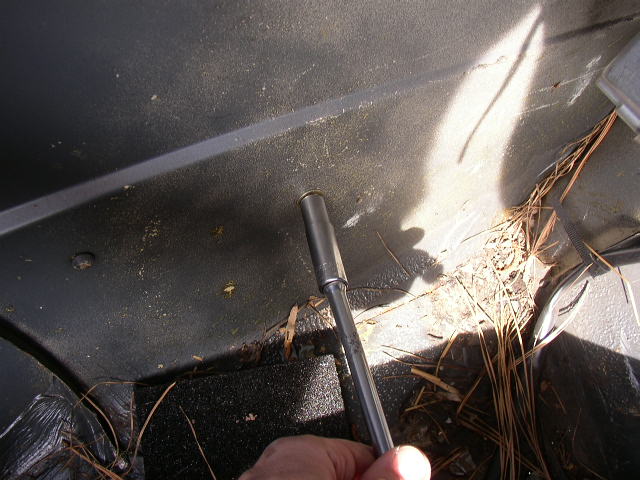
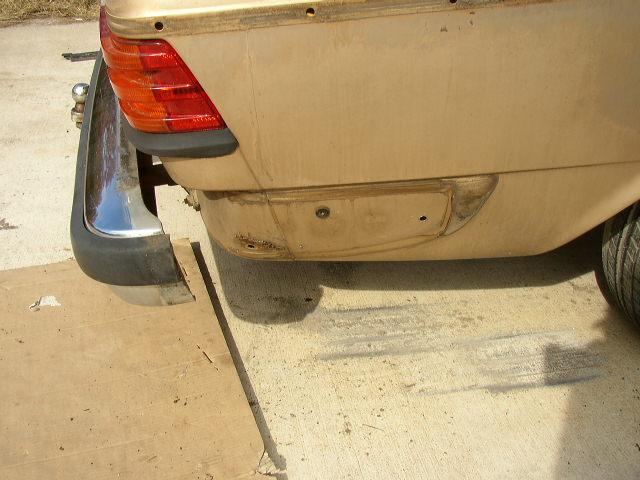
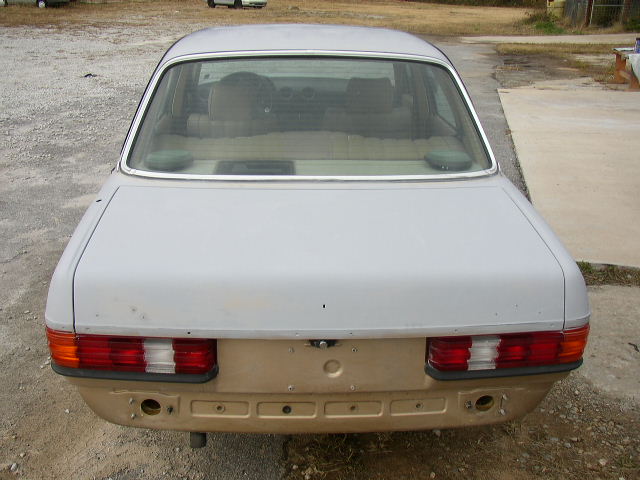
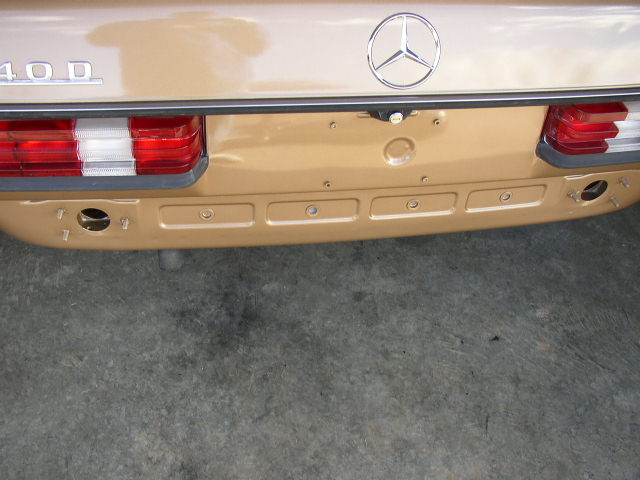
Remove the top bumper rubber shielding to reveal the rear bumper mounting bolts.
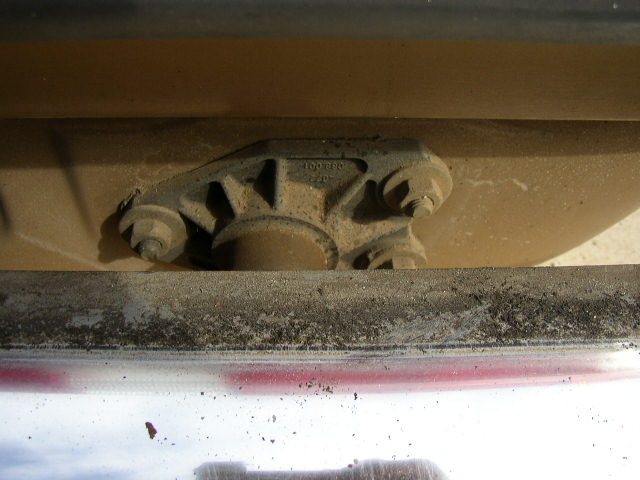
Three bolts on each shock and remove the bumper.
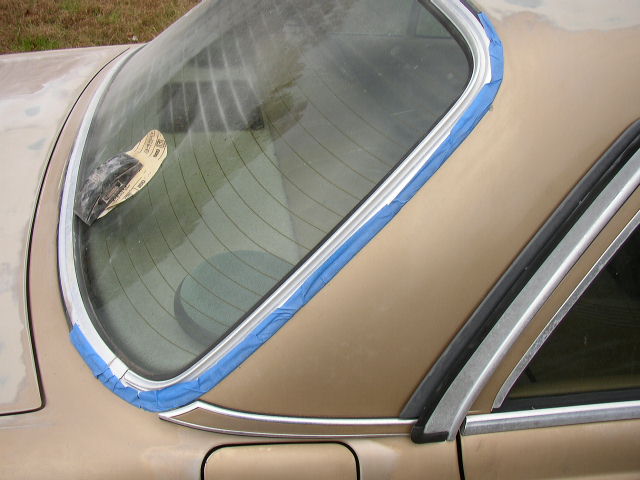
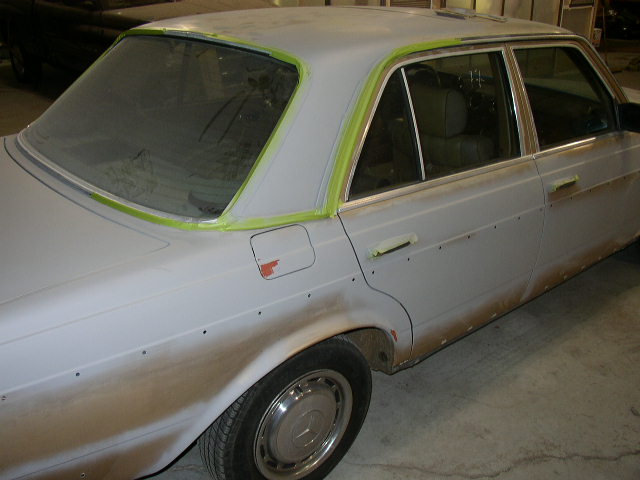
Tape off all your rubber trim to reduce sanding scratches...
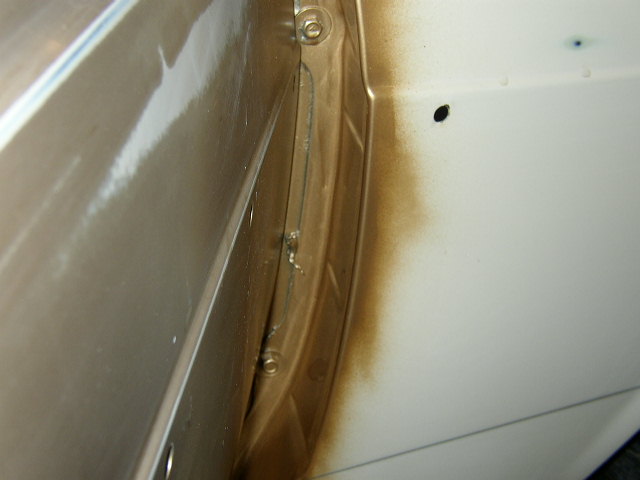
Use your 180 grit sandpaper and start striping. Right below the gold is where you want to go, but inevitably you will bust through the other layers or to the metal like I did. Never fear primer is near! The factory paint layers are the clear, gold color, cream primer, some kind of grey coating/primer and then the metal.
Since the hood is not really level I busted through to the metal several times. In retrospect using the wet/dry paper on the hood would have prevented some of these spots.
Top is the same way. Notice I forgot to tape the rubber trim up? Yes it did scratch it some.
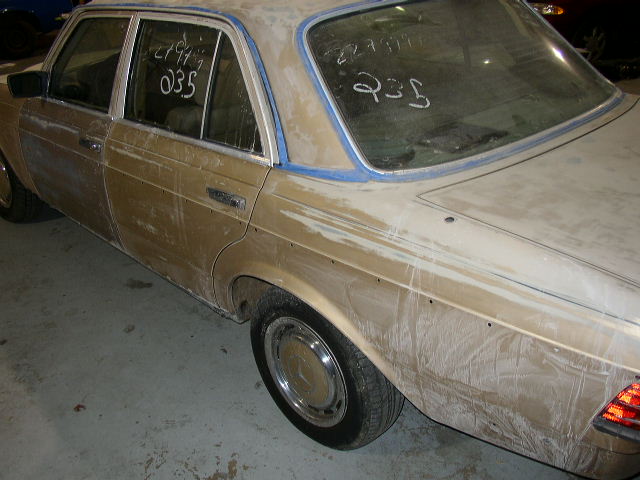
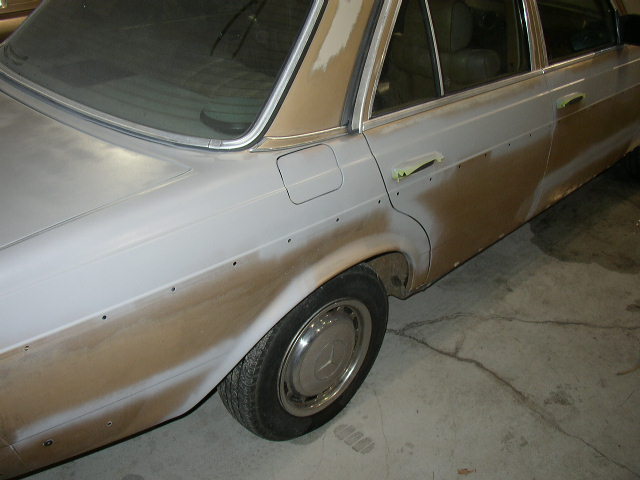
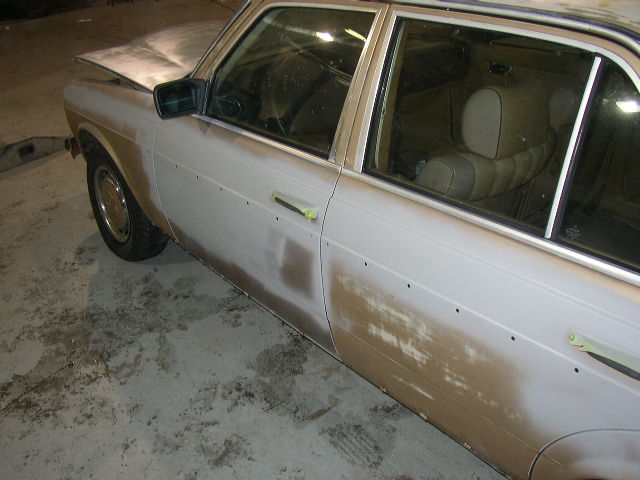
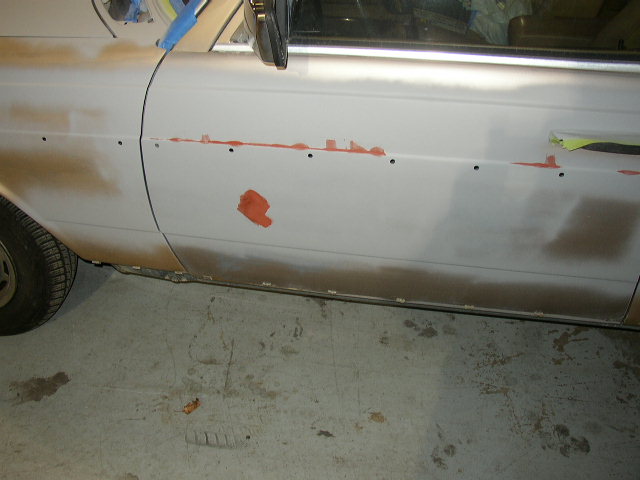
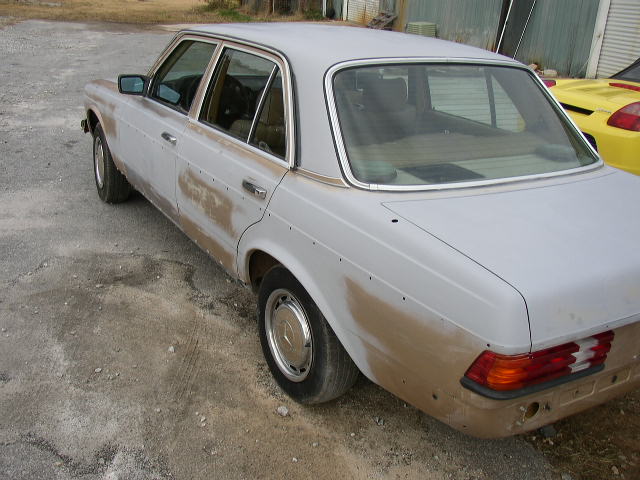
I learned my lesson and taped stuff up the second time around. I mostly wet sanded the side of the car instead of using the DA sander. Getting the pin striping off was easy, getting the residue off was not. Since the clear coat was not flaking off on the side of the car, the gold does NOT need to be removed, just sand all over it.
Even with wet sanding on the body edges, you will break through to the metal.
Just keep working the whole car with 180 grit....
When wet sanding keep a rag in the bucket and wet the paper while you are sanding on the car. Help keep the grit from filling up with paint.
Everywhere there is gold paint it needs to be sanded.
I sanded the replaced fender lip and masked and painted it gold.
I also did the inner door jam area...
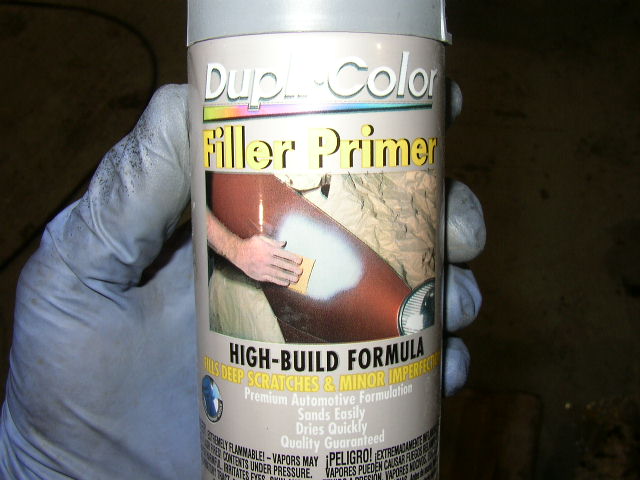
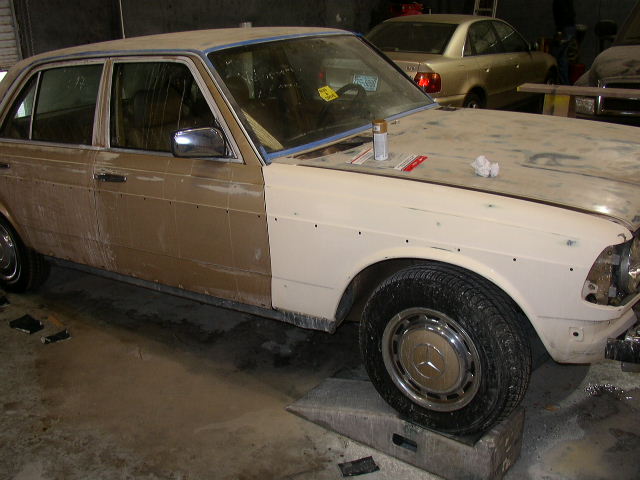
This is what you want to use on the car. Primer filler will help to fill in the scratches and give a layer of protection for any bleed through.
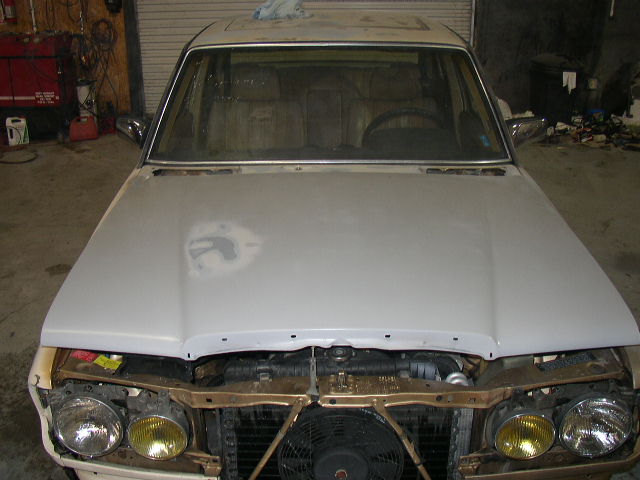
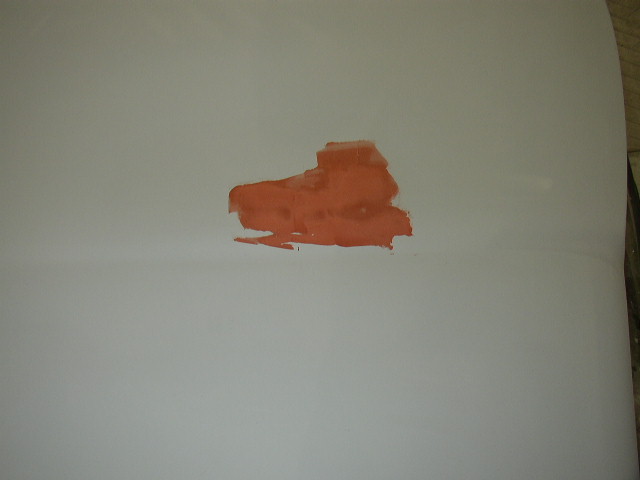
Spray the entire hood and let it dry overnight. Then we will sand again with 220 grit. There was a small dent on the hood that we had to fix.
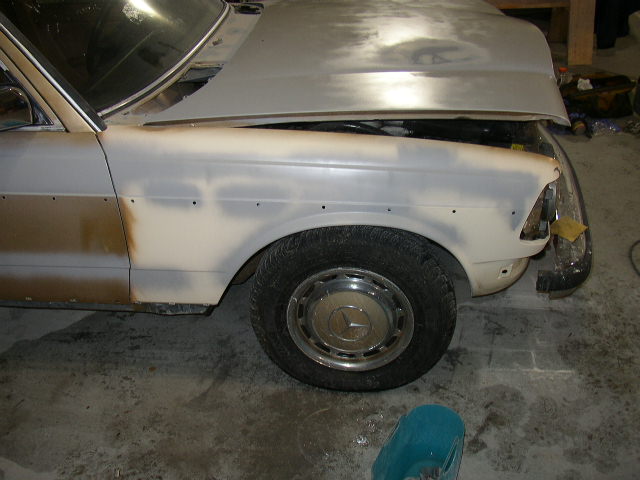
I also primed the areas on the side of the car that I sanded down too far.
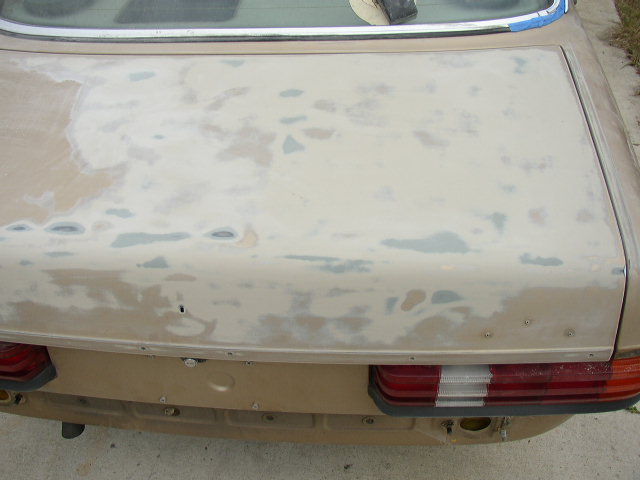
Primed the whole trunk also since it was so bad as well as the top.
The top of the quarter panel was also flakey so liberal sanding and primer will fix that.
Don't forget to do the cowl area.
After the primer dried then the whole car was wet sanded with 220 grit and primed all over again. The it was sanded with 320 and primed again. Then any area that were chips or imperfections, we used a little dab of body putty.
Then the whole car was wet sanded one final time with 400 and there was not a scratch showing at all. I cant wait to see it when I get it back from the painter.
These last pics are what the car should be like when you turn it over to the painter. Super smooth, no metal showing, no scratches, no dings or dents. The painter will shoot a sealer over the entire car let it dry and scuff it up once again. Then the whole car gets washed, re-taped, and a solvent wiped over to remove ANY oils. Then it rolls into the spray booth and gets it final color coat.
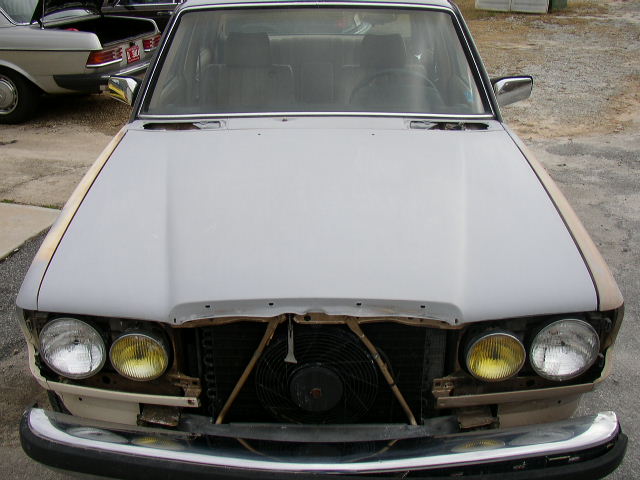
The 123 looks like a Volvo with the gill missing. Yuk not a Volvo. better get that grill on fast!
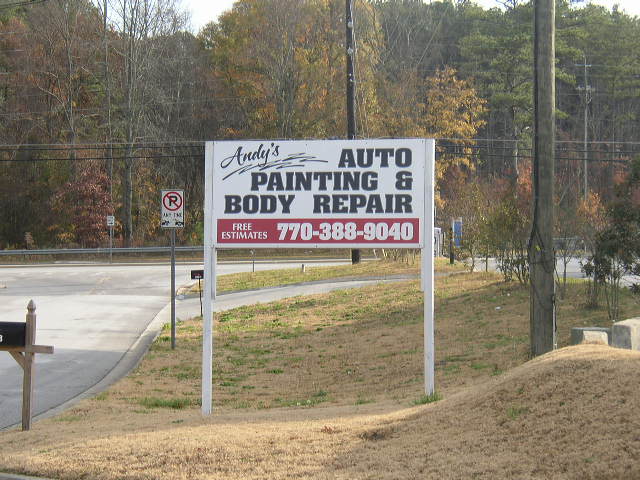
Here is where the Mercedes was sprayed. Andy's is located in Conyers Ga. I highly recommend them.
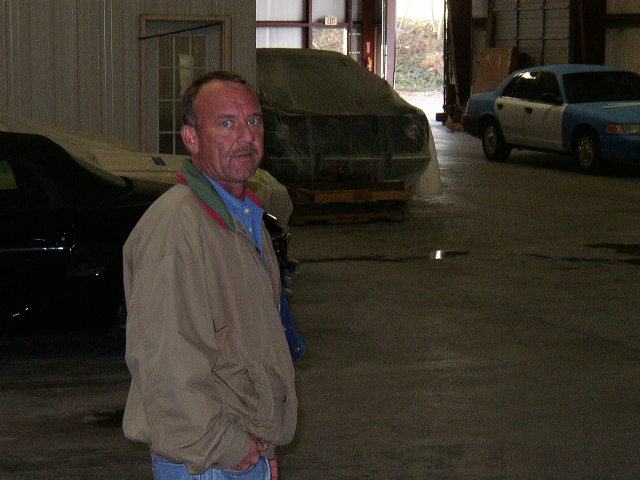
He did not want me to take his pic but I made him. Ha ha Andy is an honest guy and will tell you straight up what it takes to get the car right.
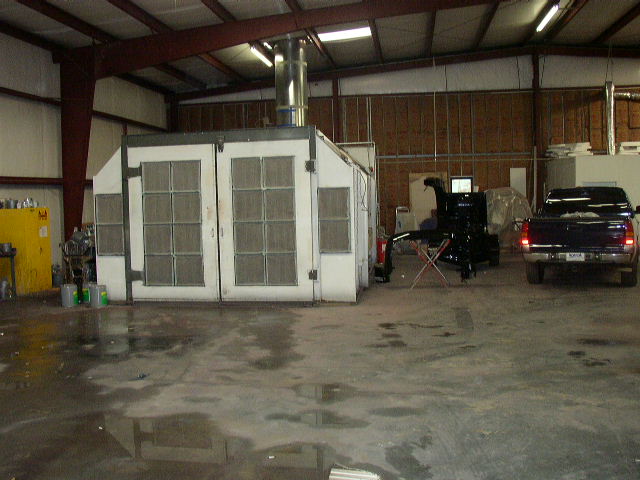
He has a huge shop and is very busy. A rare moment the spray booth was not in use.
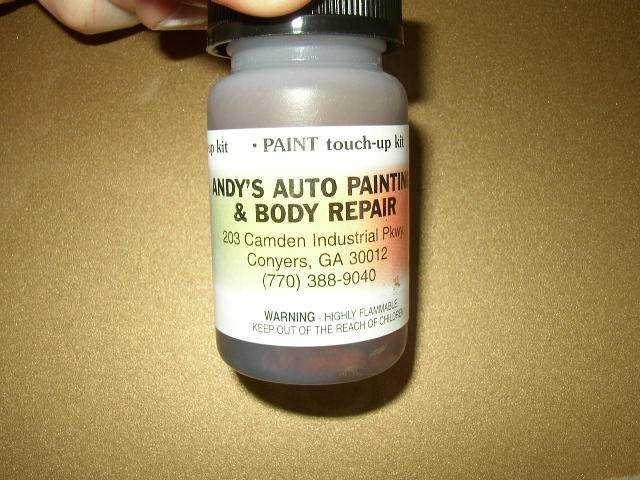
A nice touch Andy give his customers is the actual paint used to spray your car in a touch-up bottle. I hope I won't have to use it, but its there if I need it.
Now its time to start installing all the stuff we took off the car before we sanded. I will take a little more time to explain how the different fasteners work so you don't break them.
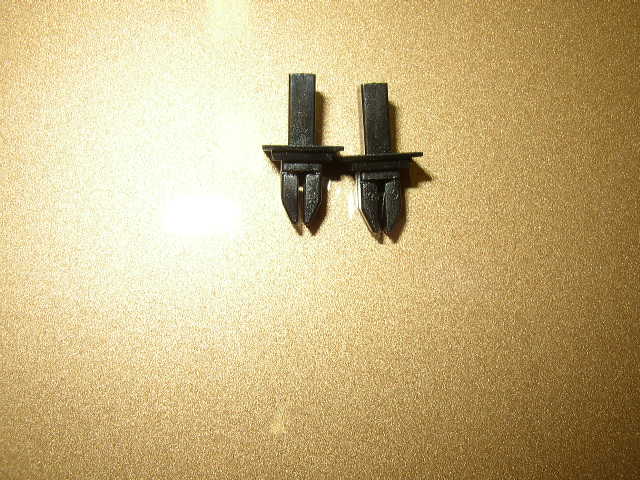
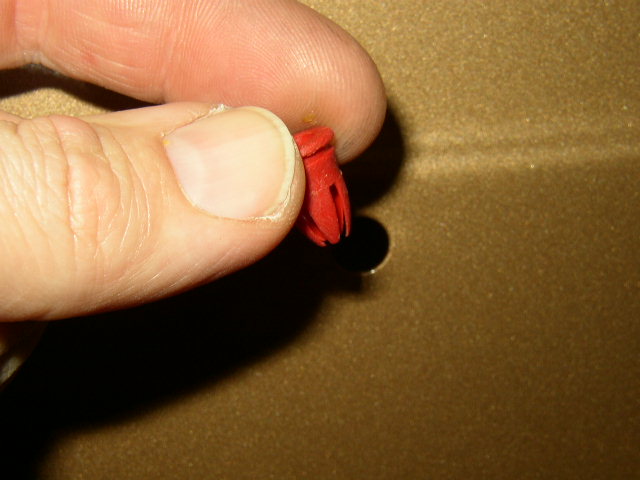
These are the cowl vent rivets and this is how they come. DO NOT PUSH down on the rivet until its in the hole or you will need another one. When you install them the slot in the middle faces the windshield and hood, not the side fenders. It does not seem like it matters since they are square, but the rivet in the center will not push all the way down if they are not in that orientation.
Four rivets per cowl vent.
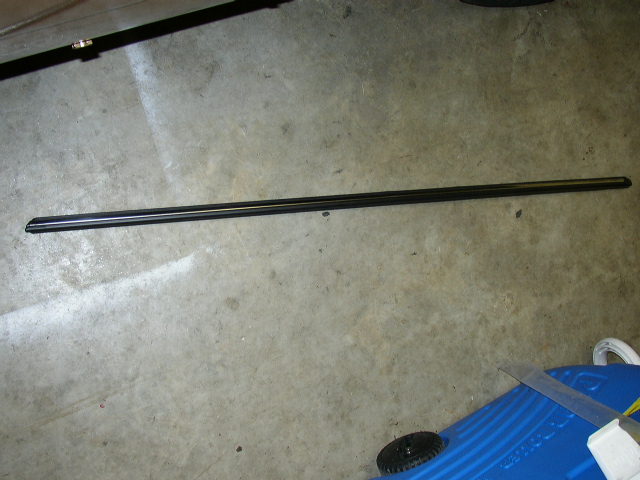
I got a piece of brand new molding for the replacement front fender.
These are the inserts that go into the body the trim piece fits into. The are actually soft rubber when they are new, not hard and dried like you are use to. Takes 58 of them to do the whole car. When you remove your trim you need to use new inserts to insure the trim is held tight against the body. Always have a few extra on hand ...just in case...
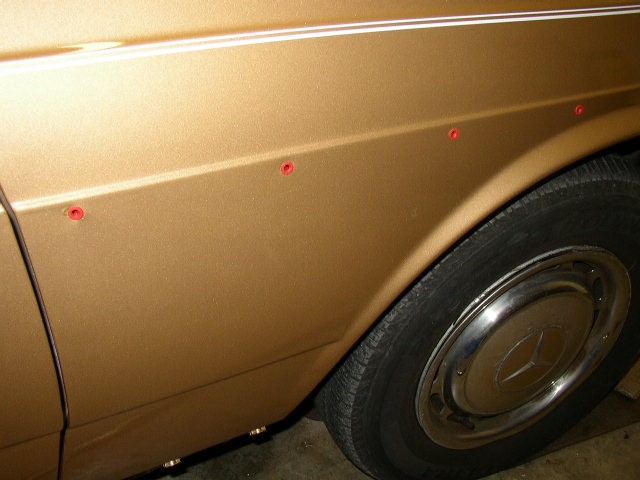
Front fender with the inserts installed. Just push then in and they will click into place. Your thumb will be sore after you do 58 of them.

Installed the lower trim....
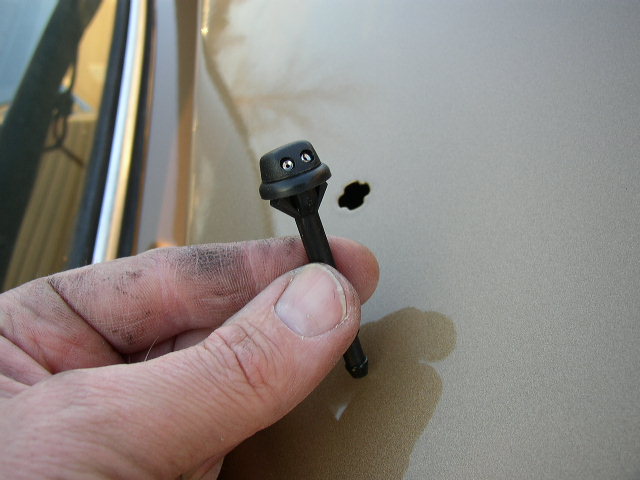
I installed the brand new windshield nozzles.
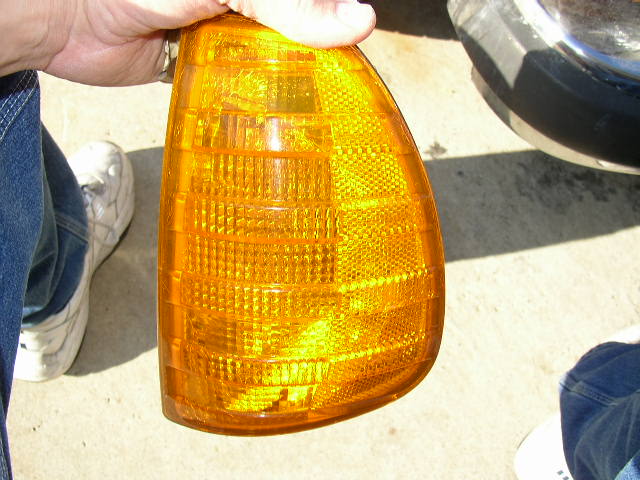
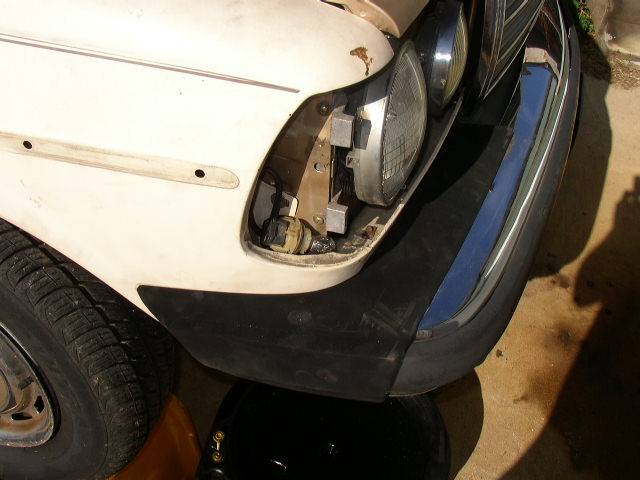
Blinker lenses..
Blinker lenses....
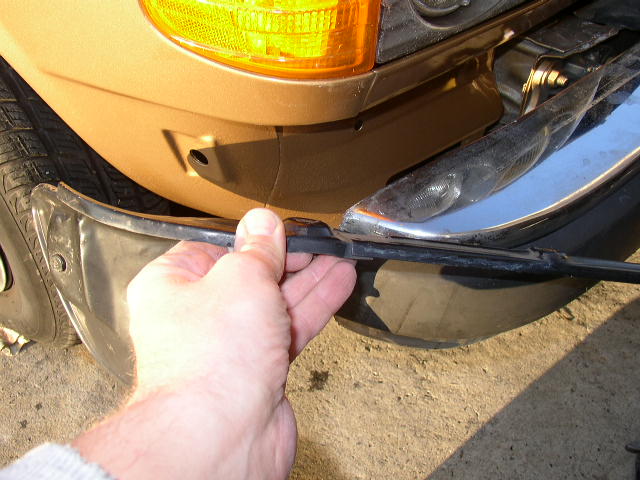
Installed the bracket and bumper side fillers.
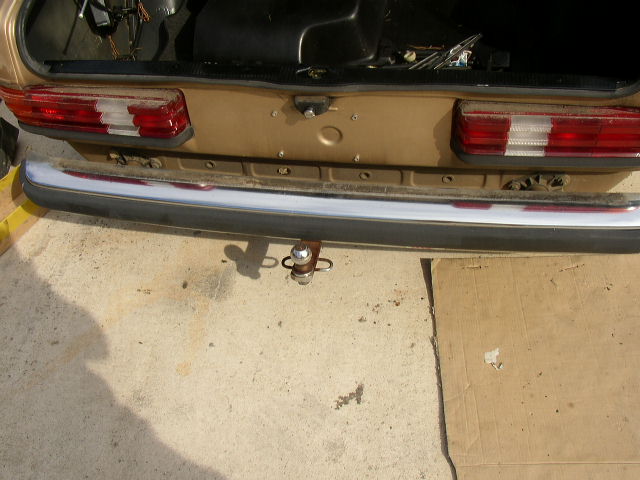
Now will mount the rear bumper using the original hardware..
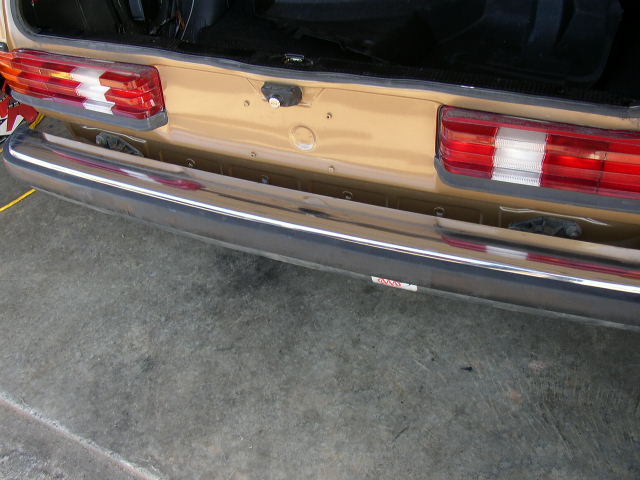
Bolts right back up without a hitch.
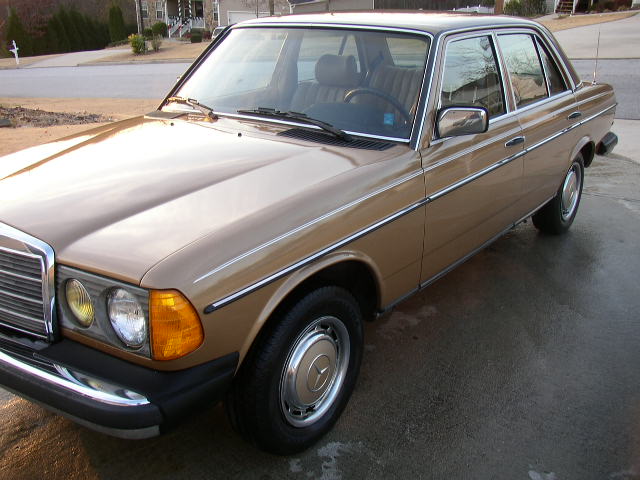
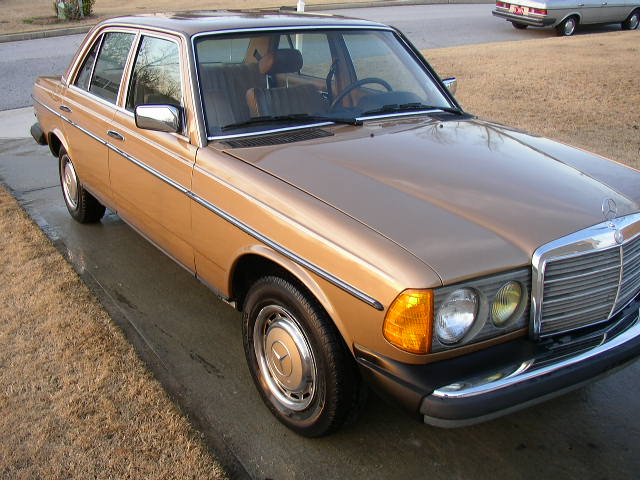
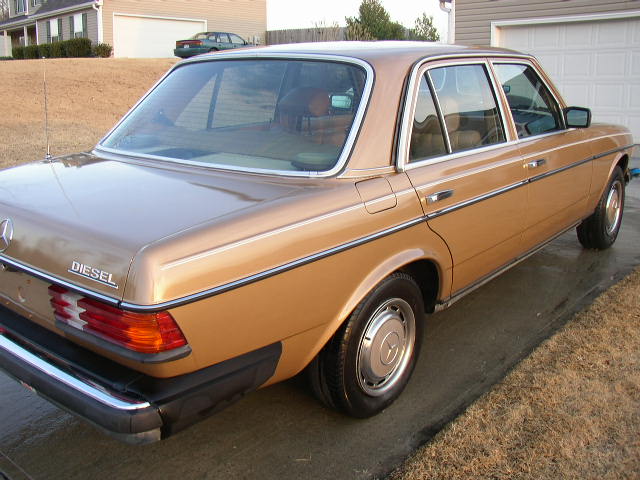
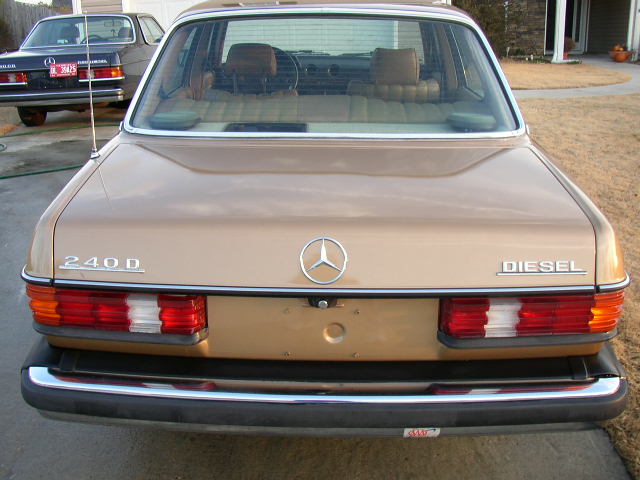
And now the final finished product.........................

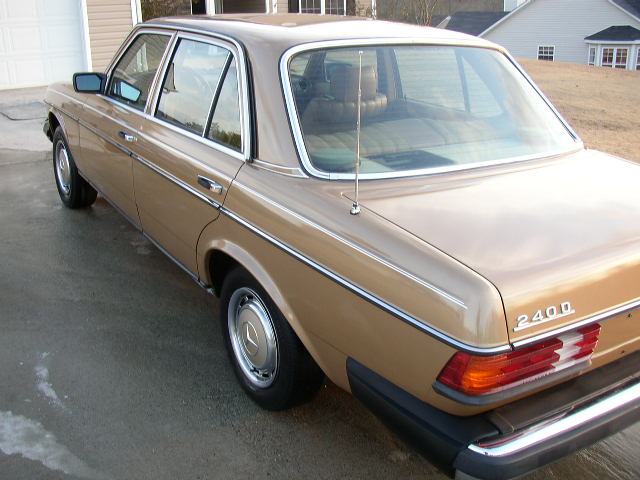
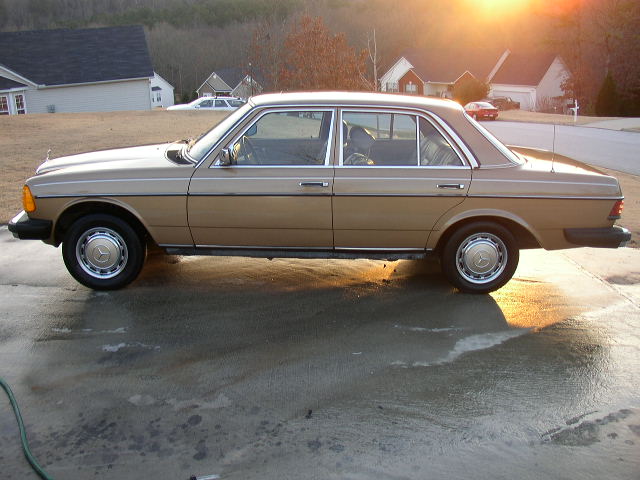
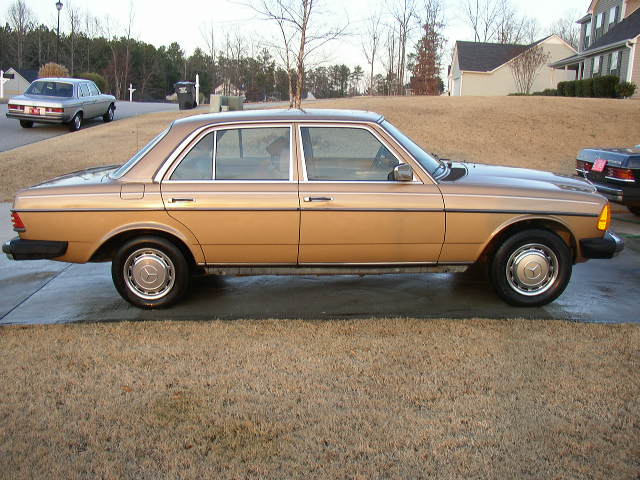
This project took a looooong time for me to complete. However I am thrilled with the results and the new life the paint has breathed into the 240d. I did put one scratch on the car when reinstalling the trim and will NOT tell you where it is, but will say its less than 1 inch and it is visible in "one" of the photos, but I will never tell!
When all the 'project 240d series" pictorials are completed the car will be put up for sale I am sad to say. As you can see from the pictures I have three 123 cars in which to choose to drive each day, but a very small space to keep them in. I wish I could keep them all, but will make sure she goes to a good "garaged" home to a MB nut.
Would I do this paint prep again? Well maybe but not anytime soon. I much prefer mechanical work over body work any day, but did this pictorial so others may gain from it. The paint job is about a $1000-$1200 job if you let Andy's do everything. The silver 300d in one of the pics (my daily driver) will get the next paint some day.
Keep an eye on the Mercedes Diesel Maintenance page for more projects featuring "project 240d".